Tuesday, January 28, 2014

Steampunk Nails

Short post today!  I attempted steampunk nails with my #nailquadsquad on Instagram.  And now two of them are contributors to Polish Etc!  So technically I can say they are blogger friends too!

Amy had a brilliant idea to do steampunk nails with the watch parts she acquired and sent to all of the quadlets.  I just recently learned about steampunk on pinterest when I saw the coolest steampunk watergun someone made from a cheap $1 watergun toy.  So I kind of knew what to go for.  Kind of a metallic dark look.  Honestly had no plan.  Just placed parts on my nails.  I think it came out pretty neat!  I used Orly Buried Alive for the base and on my accent nail I have half Buried Alive and half Essie's Licorice.

Steampunk nails

Thursday, January 16, 2014

Bliss Polish Valentine Collection Part 2

There are two holographic polishes in Bliss Polish's Valentine Collection that I will feature in this post, Mint2Be and Wine & Dine.

I was so excited that Yvette actually made a polish that I suggested to her.  I absolutely love Tiffany Who from her Premier Collection, a mint green matte polish with a beautiful gold shimmer, and I felt that it needed to be a holo!  So I asked if she would ever make a Tiffany Who holo and guess what?  Mint2be was born!  Woot woot!  Below is 2 coats of Mint2Be.  The formula was a little thicker than the rest of the collection that I received, but was still easy to apply.

Booyah!

Wednesday, January 15, 2014

Bliss Polish Valentine Collection Part 1

I'm so excited because I get to swatch another gorgeous collection by the awesome Yvette of Bliss Polish!  She sent me a few polishes from her Valentine Collection that I will break into two posts because Blogger gets made at me when I put too many pictures in a post.  :)

When I got the bottles in the mail I literally swooned, this is a gorgeous collection.  First up is Kismet.
A beautiful deep lilac with microflakies!  The microflakies give this polish a beautiful glow.  The formula was great, I hardly had any cleanup.  I used 3-4 thin coats for the photos below.

Tuesday, December 31, 2013

Happy New Years!

The last few weeks have been pretty hectic.  I changed my nails maybe once!  Also, winter has not been kind on my nails, they have been dry and brittle and keep breaking!  Wah!  Well, I had to do my collaboration mani with my #nailquadsquad (check out the tag sometime ;)) on Instagram so I wanted to share them here too!  I used my favorite black polish, Essie Licorice, as the base and Sally Hansen Golden-I to write the numbers and draw the fireworks.  I also tried to add China Glaze Angel Wings to the fireworks.  You can kind of see it.  :)  I think this is a totally cute and simple mani for New Years!  I hope everyone is having a great day and Happy New Years to you all!

Here is the collage for our collaboration.  I think we did pretty good copying each othere!  We were inspired by Instagrammers @madjennsy and @mrcandiipants!


And here is my solo shot.


Tuesday, December 24, 2013

Christmas Tree Nail Art

Merry Christmas Eve!!  I was planning to do more Christmas themed nail art, but shoot time escaped me.  I did these last week and posted them on Instagram.  I had the idea of using Sharpie pens as nail art pens because I remember seeing them on Pinterest so many times before.  I am not an artist, so I wanted to do the simplest design.  I drew what fellow Instagramer @reinovate called a "minimalist Christmas tree" on my accent nail and stuck a star glitter on top.  I also dubbed it the "Christmas poop tree".  Because my tree looks like a cartoony pile of poop.  I still think it looks pretty cool.  Sharpies are great for a quick nail art doodle, but if you plan on keeping your mani on for a while the ink seemed to fade as the days went on.  I used like 3 coats of top coat so I think the chemicals in nail polish disintegrates the ink.

Hope you enjoyed my Christmas Poop Tree!


Monday, December 16, 2013

Hobby Polish Bloggers Winter Giveaway!!!

So excited to be part of a huge giveaway.  The prize is just so awesome!!  Hope everyone enters!  ;)
The Hobby Polish Bloggers are having their second multi-blogger giveaway! To enter, please allow the Rafflecopter widget to load below. All Terms and Conditions may also be found in the widget. Please visit the following Hobby Polish Bloggers members who are bringing this to you! You may enter using Rafflecopter from any of the below blogs but your entry will only count one time. You may, however, tweet about the giveaway (the last option) once a day for the duration of the giveaway.


Hobby Polish Bloggers
A far from perfect mom
Be Happy and Buy Polish
FashionFooting
I Feel Polished
Imperfectly Painted
Jen Likes Polish (and some other things)
KellieGonzo.com
Love. Varnish, chocolate and more...
Lucy's Stash
Lustrous Lacquer
MandysSecrets
manicure addict
Pamper with Polish
Polarbelle
polish insomniac
Polish Obsession
Polished and Glittered
PolishGalore
PolishNV
pretty tough nails
Refined & Polished
The Dalai Lama's Nails
The Mercurial Magpie
The Sparkling Hoard
TrailerHood Chic

a Rafflecopter giveaway

Thursday, December 12, 2013

Red French Tips (Using a French Brush)

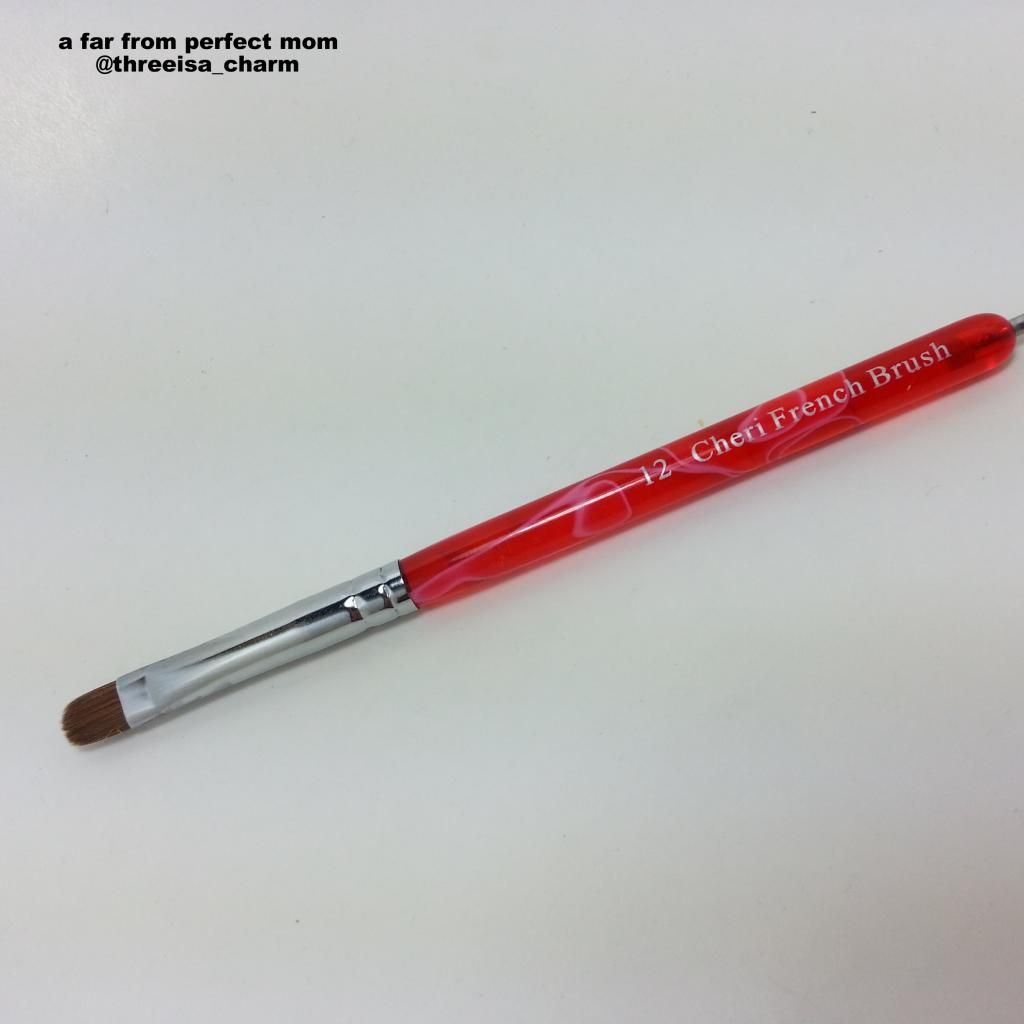
Hello again!  I am excited because a couple weeks ago I went with a few friends to go polish shopping at beauty supply shops and I found the perfect cleanup brush.  I saw a french brush in a bin at one of the stores and thought that it might make a good cleanup brush.  It seems that all polish girls are forever in search for the best cleanup brush and best top coat and I seem to collect both.  This brush was only $3, so I figured what is the harm?  Well, I loooooove it!  It is the best cleanup brush I have ever used.  My elf concealor brush melts in the acetone after only a couple weeks of use.  I have used this brush for several weeks and while bristles have gone astray on the whole it is still very well intact.  The edge of the brush is so thin that you can cleanup in the tightest of areas around your nails.  One of my friends Jess, Lost in Polish, pointed out that this is what the manicurists probably use for french manicures.  I didn't even think about that even though the brush has the words, "french brush" etched on the side.  So guess what I decided to try?  Well, I hope you can guess from the title of this post.

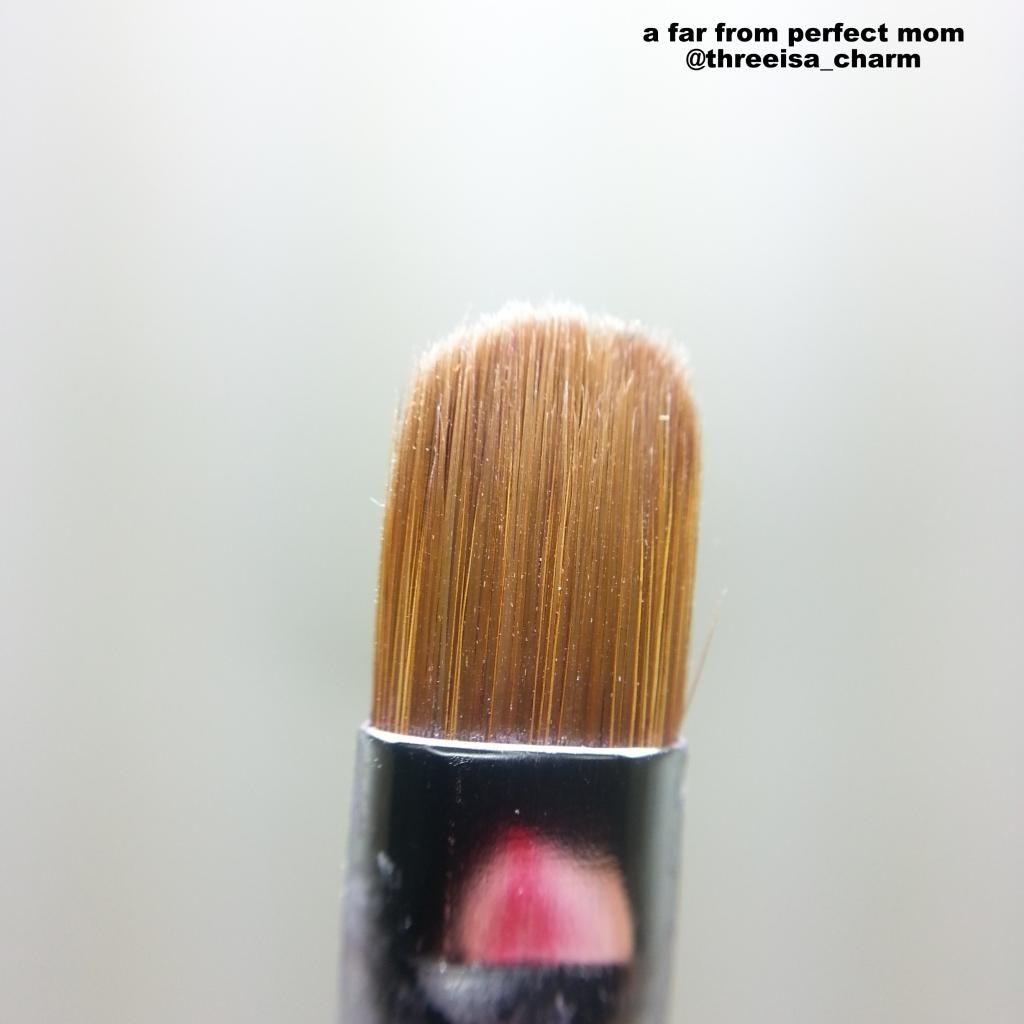
I took some pictures of the brush to show you what a perfect cleanup brush looks like.  The other end of the brush has a small dotting too.  I actually use this as part of clean up also.  Since the brush isn't very stiff, I push back my cuticles with the small dotting tool that way I can clean up the excess polish that gathered near my cuticle with ease.


The shape of the brush ends up being perfect for making that smile line for a french mani.


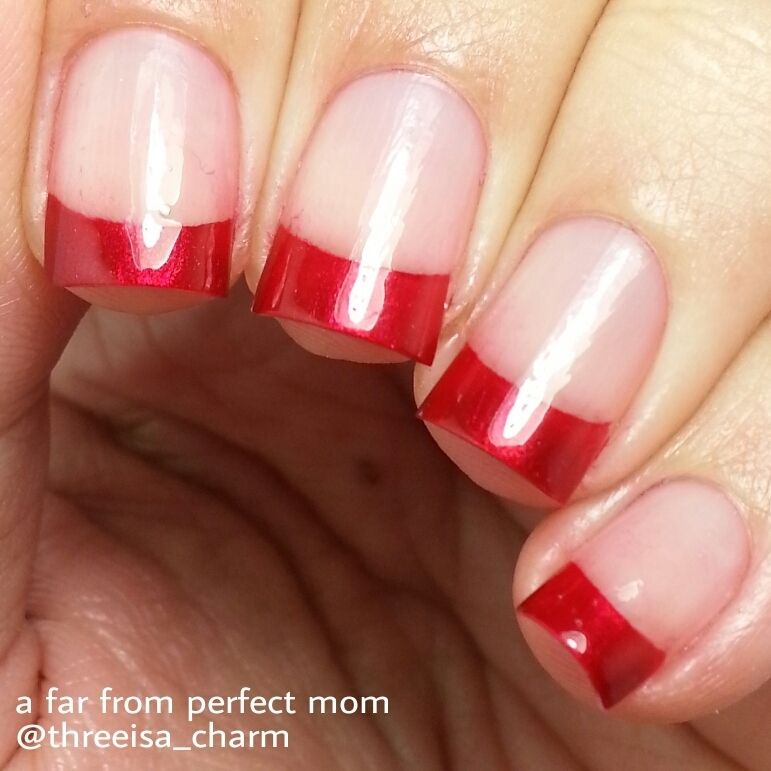
Look at my french tips!  It isn't perfect I know.  But these are the best french tips I have ever created (even my right had looked decent!).  Lol!  And in keeping with the holiday colors.  I thought I would do shimmery red tips! 

In order to create the french tips, I polished the tips with red polish pretty sloppily and then I dipped my french brush in acetone.  I tried to keep a good amount of acetone on the brush, not dripping wet but pretty soaked, then I placed the whole brush where I wanted my smile line and gently pressed down flat against my nail and swiped from side to side brushing away the excess polish to make the french lines.


Wow that was a wordy post!  Ironic since I do not like to read wordy blog posts.  What do you think of my french tips?  I would tell you the name of the red polish, but I got this in a Color Club pack from Ross and threw out the box.  I'm so sorry, if anyone can name it please let me know!  It seems like a metallic Santa red polish.

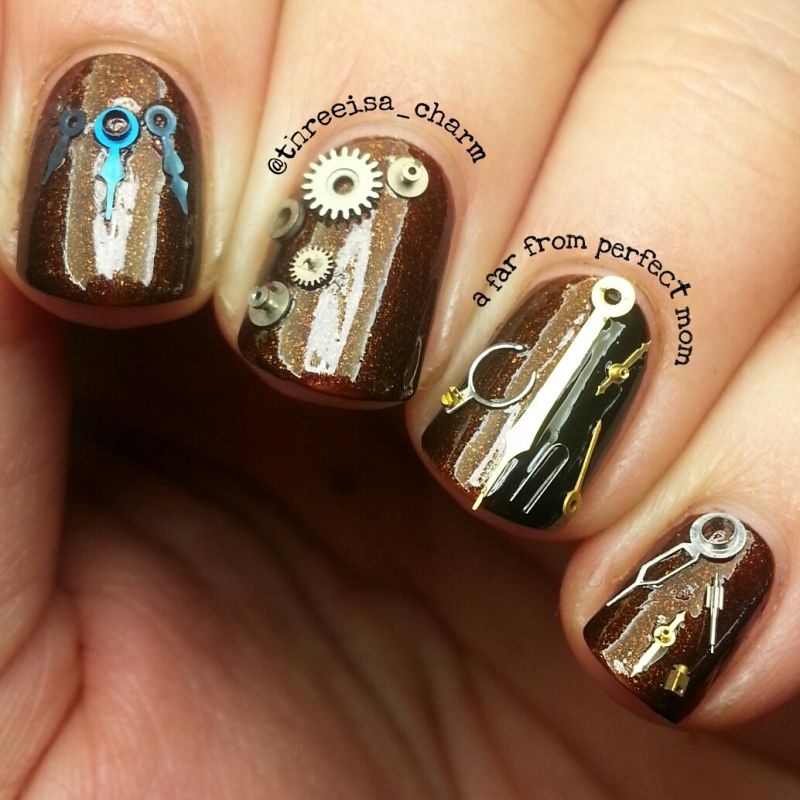
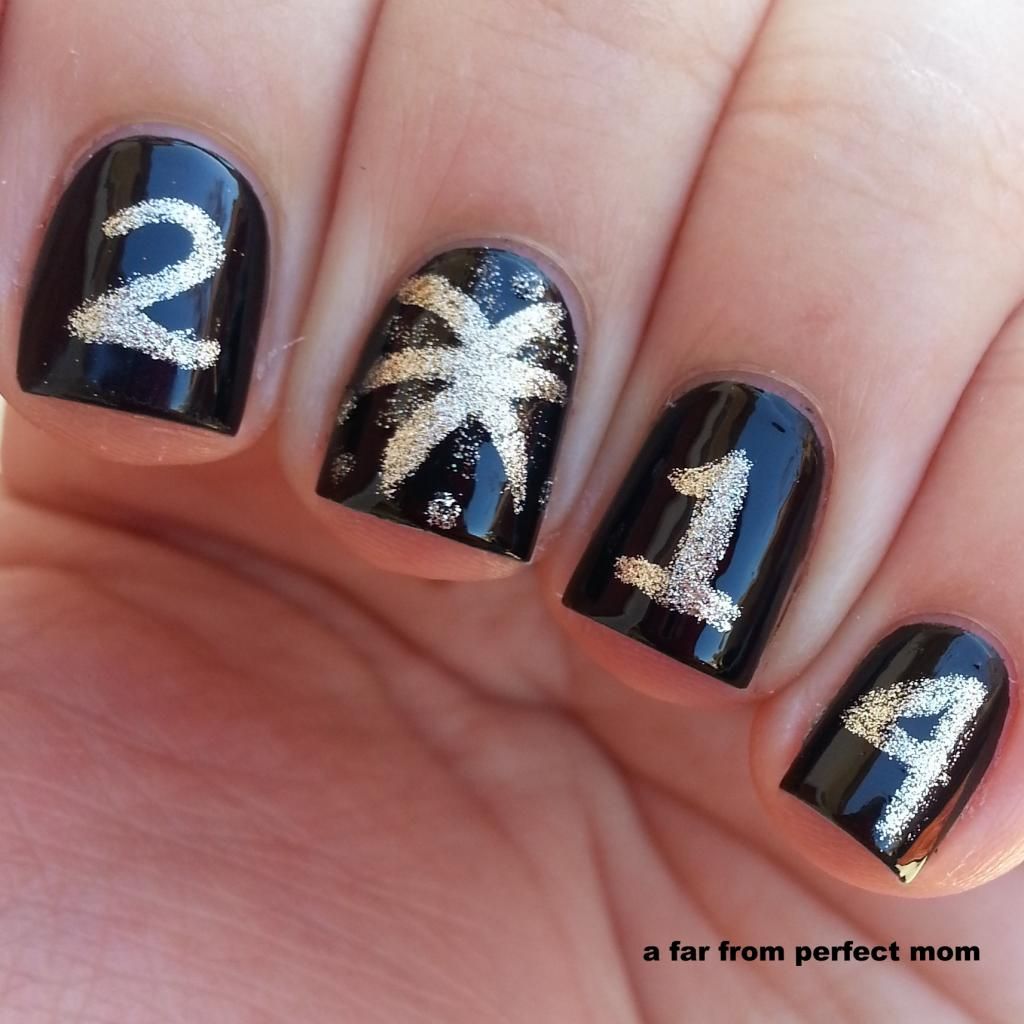
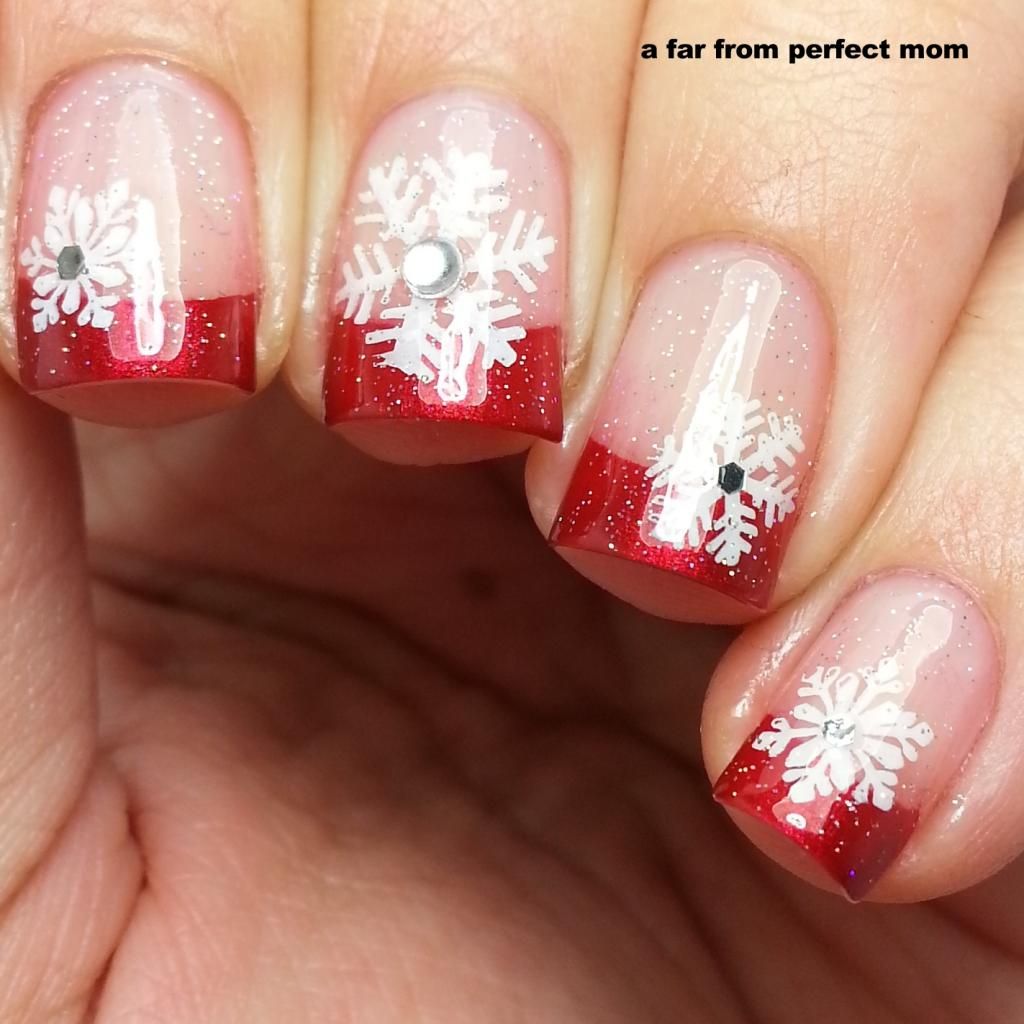
*Update*  Look at how I updated my mani!!  I love this so much.  I'm not very good at nail art, but I'm proud of myself for this.  Hahaha!  I used my Winstonia Plates for the snowflakes.