Tuesday, December 9, 2014

Water Decals Transfers Crown Shield Rings Pattern

Gooood Morning!  Long time no see!  :)  Today I have something special for you.  Easy nail art courtesy of bornprettystore.com.  I'm sure most of you are familiar with Born Pretty.  They have awesome nail art at a really low price.  The only thing is that they ship from overseas so it can take up to a month to get to you.  They sent me some items to review and the first one I wanted to show you were these water decals.  

These were pretty easy to apply, however, I would not follow the directions on the package.  The package tells you to apply like a temporary tattoo.  If you apply it like a temporary tattoo, the gold metallic design would be facing down on your nail instead of being showcased on the nail.  Instead I just got a little cup of warm water, cut the piece I wanted to use out, let it soak in the water for about 10 seconds and tried to slide the decal off the paper.  The decal is not especially thin or fragile so you can use your fingers to place it on the nail wherever you would like.  Once you have it in place do not touch it.  Let the water dry and top coat it.  The decal will not stay without top coat.  And the decal will move around until you top coat it.  

I used a red creme as the base color and placed the decals over my nails.  For the most part you cannot tell where the decals are.  Look at how pretty!  I felt like an Indian princess with these nails!  

Born Pretty Item #T332

Born Pretty Item #T332

I really liked these water decals.  They were fairly easy to use once you got the hang of it.  And it steps up your nail art game!  Can't wait to try more.  I have a couple more items to share with you in the next couple days!  If you like this item you can click here or go to the Born Pretty store and search for item #T332.  Use my code: QFG10 to get 10% off your order.  

Tuesday, September 23, 2014

Bear Pawlish Pretty Hate Machine and Peek A Boo

I have truly been moved by a new to me indie maker.  Bear Pawlish.  How cute is that name?  I love pretty much everything this little lady makes.  I finally tried some of her polishes that I purchased.

First up is Pretty Hate Machine.  It is a blackened jelly based holo! This was 3 coats.  Formula was okay.  I tend to have troubles with jellies.  It was patchy, but the 3rd coat was breathtaking!  Also this did stain my nails a bit (I did not do a base coat).  Nothing a little toothpaste and nail brush couldn't handle though.  :)   But seriously, who cares when it looks like this???

Bear Pawlish Pretty Hate Machine
Macro shot of Pretty Hate Machine

Bear Pawlish Pretty Hate Machine
Sun shot of Pretty Hate Machine

Next is Peek A Boo.  This is a bright hot pink holo.  Like seriously hot pink.  This was 2 coats.  Formula was awesome!  So easy to apply.  I can't stop staring at my nails.  There is just something so interesting about this color.  

Bear Pawlish Peek A Boo
Sun shot of Peek A Boo

Bear Pawlish Peek A Boo
Macro shot of Peek A Boo
Aren't both these polishes stunning?  I want them all!!!  Go get you some Bear Pawlishes today!  Check out her Facebook page for updates on restocks here.


Sunday, July 6, 2014

4th of July Nails

So I'm totally late posting this.  But here is what I wore on the 4th.  I did a red, white and blue gradient and stamped over the gradient with stars.  I love the look of stamping over a gradient because you can do a crappy job on your gradient but it still looks bad ass once you stamp over it! I was pretty proud of myself.  What did you wear on your nails on the 4th?


Monday, June 30, 2014

Chanel Taboo

Why hello there strangers!  Long time no see!  I haven't been posting in a while because I started a new journey and new blog trying to build brain highways with my son :).

I haven't stopped painting my nails though and I just got so excited because yesterday was my birthday (okay now two days ago) and I got the most awesome gift ever from my friend Yvette!  She sent me a bottle of Chanel Taboo!  I have always wanted to get Taboo.  I even told myself that if I ever decided to spend upward to $30 on a bottle of polish it would be Chanel Taboo.  I was so giddy that I had to put it on right away!  And I love it!  It's a little vampy for the middle of summer, but it is gorgeous.  I don't even know how to describe the color it is deep vampy purple with a fiery shimmer and what looks like blue microflakies.  This is pretty much one coat.  Some fingers I dragged a little too much and added a second coat, but if you are careful one coat is more than enough.  The application was a little harder than I thought it would be because the bristles on the Chanel brush is so long that it was little hard to maneuver around my nails.


I hate how I can't capture it's true beauty on my camera phone, but the macro pic gives a little better idea of how complex and pretty this polish is!  This is officially the most expensive bottle of polish I own!  What is yours?

Monday, March 24, 2014

KBShimmer It's Razz-ical

I can't sleep!  And I haven't posted in forever!  Here is my first post with my new blog name!  I recently made an order from KBShimmer.  I have had a KBShimmer gift card for $50 since Christmas!  I can't believe it has taken me so long to order!  I use way too many exclamation marks!!!

Anyways I noticed a lot of KBShimmers that I wanted are now discontinued and no longer available for purchase on their site and it made me go into panic mode and I bought a bunch of older polishes that I had been eyeing for a while.  And I know I had been eye It's Razz-ical for a long while and it looks so me.  This is a me polish for sure.  It is a purpley pink jelly polish with holographic glitters.  The color appears lighter in my picture in real life it is a tad deeper and more purpley (yes that is a description).

KBShimmer It's Razz-ical

Isn't she gorgeous?  I absolutely love this polish.  It is going on my imaginary favorite list.  

Tuesday, February 18, 2014

New Blog Name

Hello everyone!!!  I decided to change my blog name to Three is a Charm Blog (but don't expect my header to change for a while.  I'm the ultimate procrastinator)!!  I loved a far from perfect mom, but I wanted more consistency between my Instagram and Twitter accounts.  I feel good about this change because it still showcases my mommy-ness.  :)  I still plan on posting mommy posts, but I'm still figuring out how I want to still kind of keep in flow with my nail theme.  :)  Hope you all don't mind the change!

Thursday, February 6, 2014

Polish Addict Nail Color

Hello all!  I'm excited to be able to swatch a few polishes for Polish Addict Nail Color (PANC) today!  Laura sent me four polishes that I get to show you all today.  All the polishes from PANC that I have ever tried have always had an impeccable formula!  The polishes today applied amazingly and I had very little cleanup to deal with.  The only cleanup required was due to my fingers being to meaty and getting in the way of the polish brush.  Ugh I hate my fat fingers.  Lol!

First I have Chemical Romance.  This is a glitter topper with so many different glitters.  Every time I dipped the brush into the bottle I came up with new glitters that I didn't even see in the bottle, I'm pretty sure there are still mysterious glitters in there that will come out when I use this again!  I swatched this as a jelly sandwich.  I used 4 coats of Loreal's Berry Nice, a gorgeous deep purple jelly, and one coat of Chemical Romance to sandwich this glitter in.  ;)
Glossy top coat.

Tuesday, January 28, 2014

Steampunk Nails

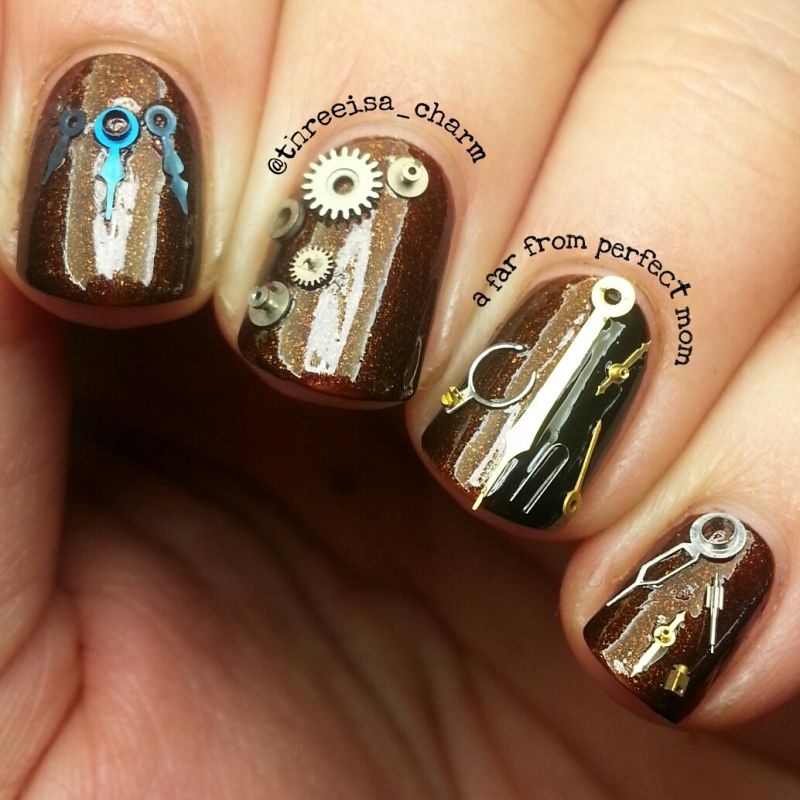
Short post today!  I attempted steampunk nails with my #nailquadsquad on Instagram.  And now two of them are contributors to Polish Etc!  So technically I can say they are blogger friends too!

Amy had a brilliant idea to do steampunk nails with the watch parts she acquired and sent to all of the quadlets.  I just recently learned about steampunk on pinterest when I saw the coolest steampunk watergun someone made from a cheap $1 watergun toy.  So I kind of knew what to go for.  Kind of a metallic dark look.  Honestly had no plan.  Just placed parts on my nails.  I think it came out pretty neat!  I used Orly Buried Alive for the base and on my accent nail I have half Buried Alive and half Essie's Licorice.

Steampunk nails

Thursday, January 16, 2014

Bliss Polish Valentine Collection Part 2

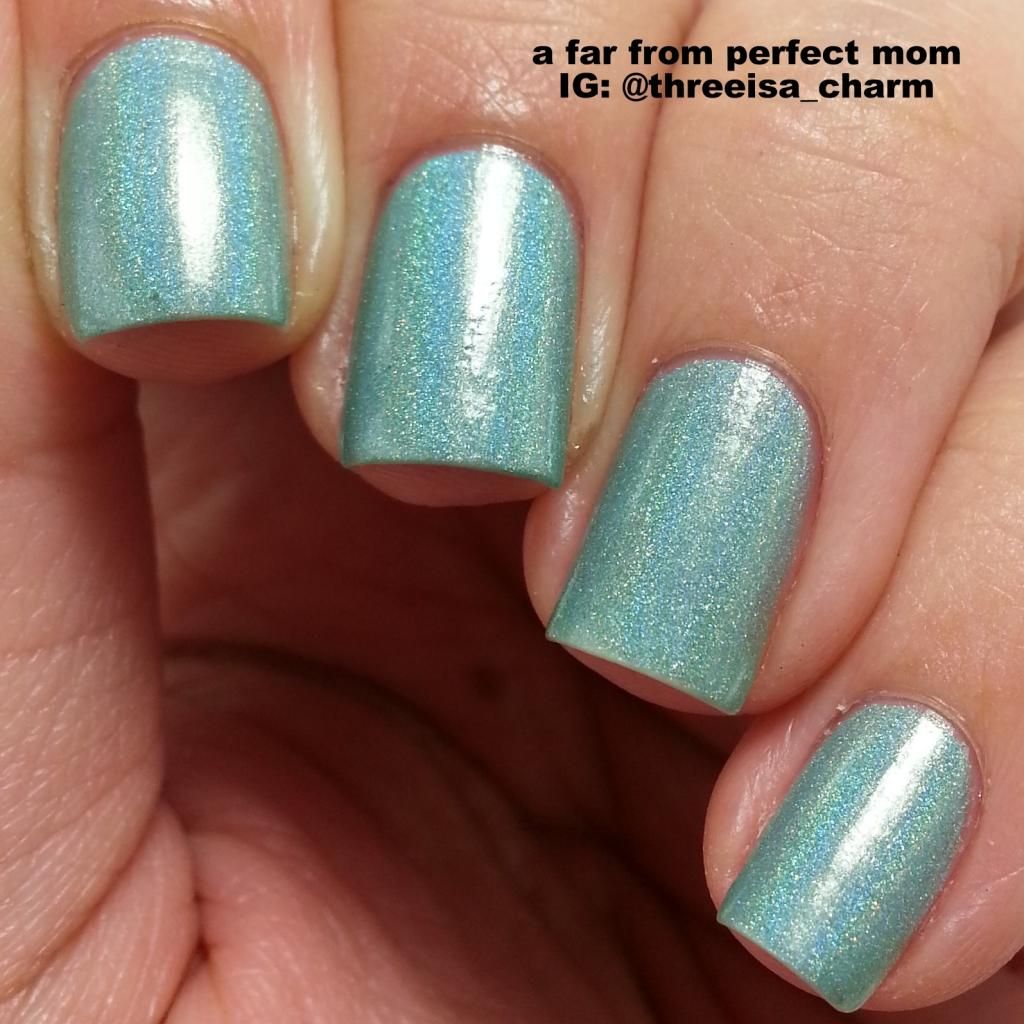
There are two holographic polishes in Bliss Polish's Valentine Collection that I will feature in this post, Mint2Be and Wine & Dine.

I was so excited that Yvette actually made a polish that I suggested to her.  I absolutely love Tiffany Who from her Premier Collection, a mint green matte polish with a beautiful gold shimmer, and I felt that it needed to be a holo!  So I asked if she would ever make a Tiffany Who holo and guess what?  Mint2be was born!  Woot woot!  Below is 2 coats of Mint2Be.  The formula was a little thicker than the rest of the collection that I received, but was still easy to apply.

Booyah!

Wednesday, January 15, 2014

Bliss Polish Valentine Collection Part 1

I'm so excited because I get to swatch another gorgeous collection by the awesome Yvette of Bliss Polish!  She sent me a few polishes from her Valentine Collection that I will break into two posts because Blogger gets made at me when I put too many pictures in a post.  :)

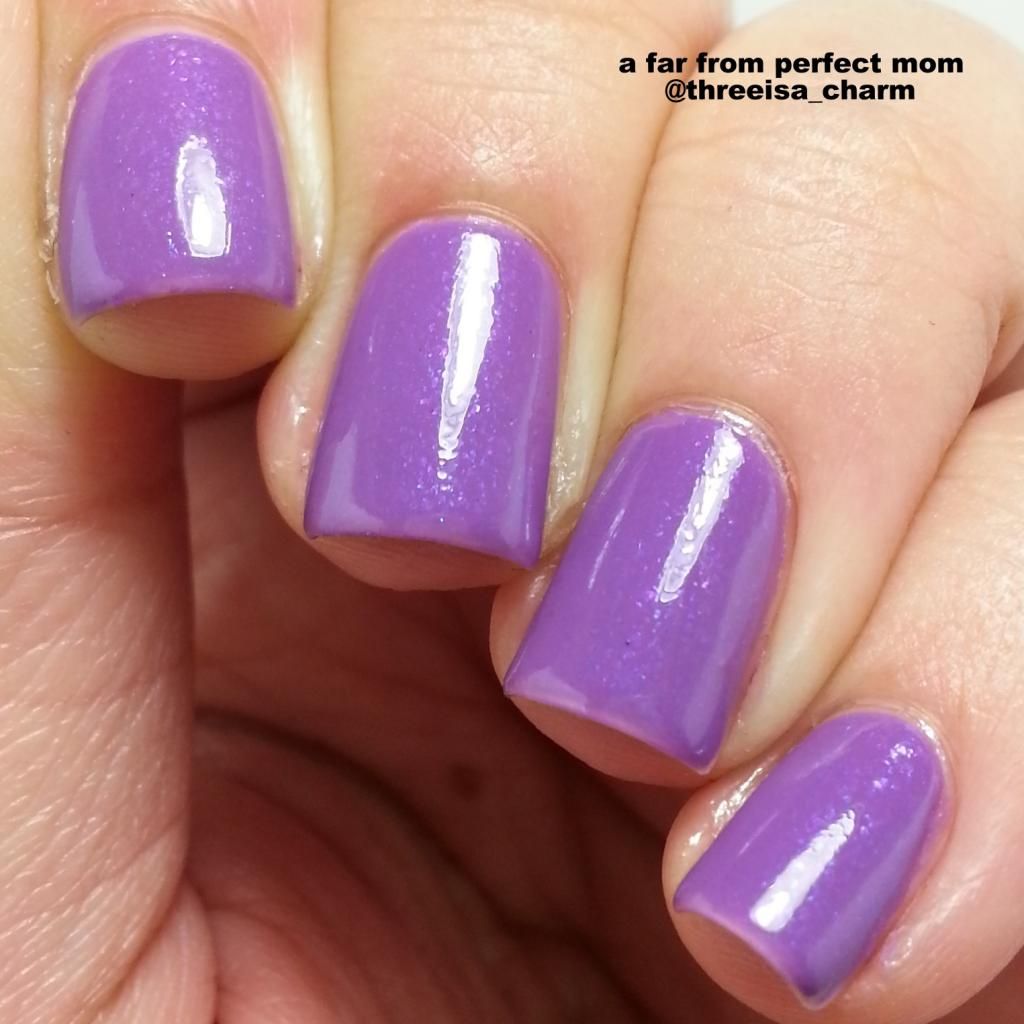
When I got the bottles in the mail I literally swooned, this is a gorgeous collection.  First up is Kismet.
A beautiful deep lilac with microflakies!  The microflakies give this polish a beautiful glow.  The formula was great, I hardly had any cleanup.  I used 3-4 thin coats for the photos below.

Tuesday, December 31, 2013

Happy New Years!

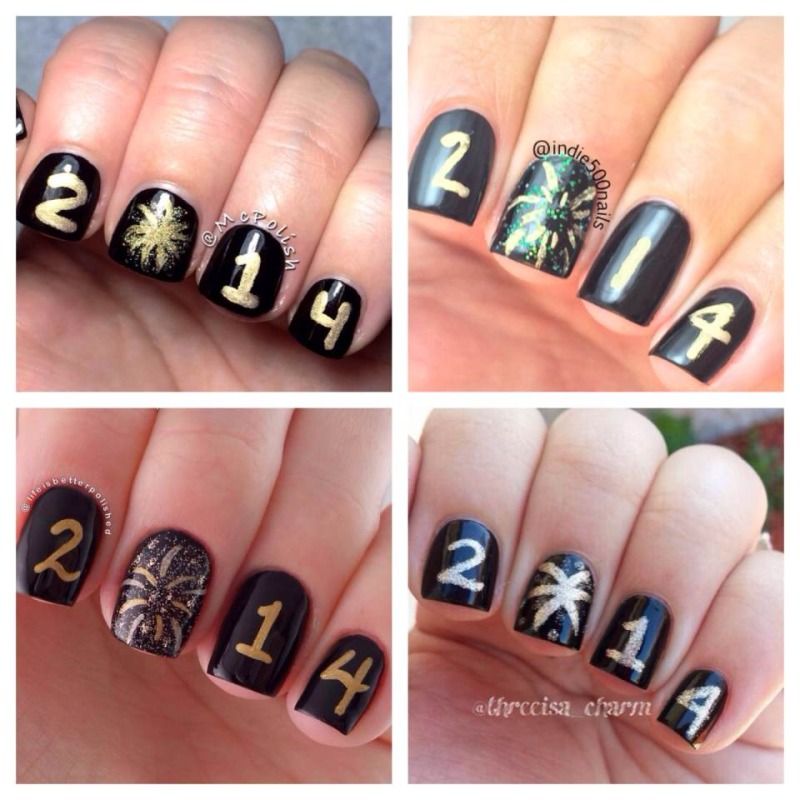
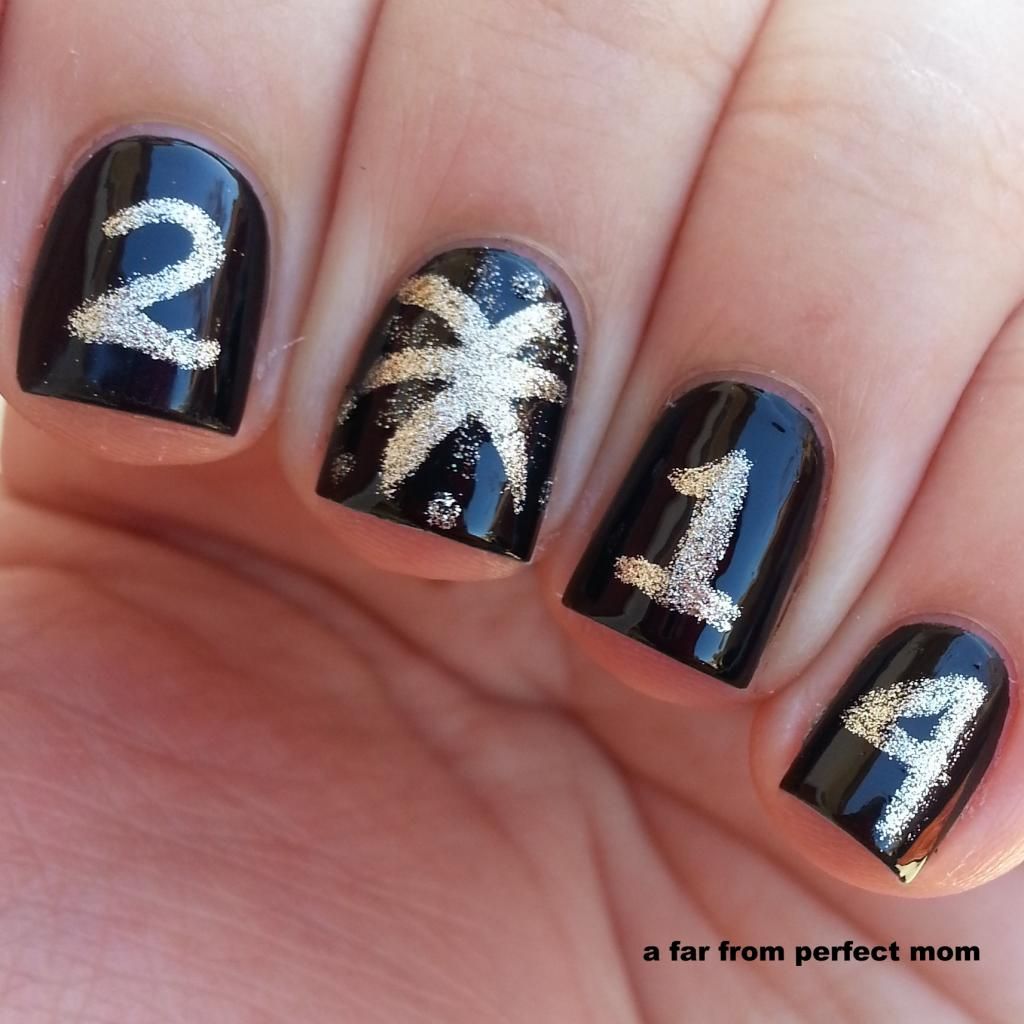
The last few weeks have been pretty hectic.  I changed my nails maybe once!  Also, winter has not been kind on my nails, they have been dry and brittle and keep breaking!  Wah!  Well, I had to do my collaboration mani with my #nailquadsquad (check out the tag sometime ;)) on Instagram so I wanted to share them here too!  I used my favorite black polish, Essie Licorice, as the base and Sally Hansen Golden-I to write the numbers and draw the fireworks.  I also tried to add China Glaze Angel Wings to the fireworks.  You can kind of see it.  :)  I think this is a totally cute and simple mani for New Years!  I hope everyone is having a great day and Happy New Years to you all!

Here is the collage for our collaboration.  I think we did pretty good copying each othere!  We were inspired by Instagrammers @madjennsy and @mrcandiipants!


And here is my solo shot.


Tuesday, December 24, 2013

Christmas Tree Nail Art

Merry Christmas Eve!!  I was planning to do more Christmas themed nail art, but shoot time escaped me.  I did these last week and posted them on Instagram.  I had the idea of using Sharpie pens as nail art pens because I remember seeing them on Pinterest so many times before.  I am not an artist, so I wanted to do the simplest design.  I drew what fellow Instagramer @reinovate called a "minimalist Christmas tree" on my accent nail and stuck a star glitter on top.  I also dubbed it the "Christmas poop tree".  Because my tree looks like a cartoony pile of poop.  I still think it looks pretty cool.  Sharpies are great for a quick nail art doodle, but if you plan on keeping your mani on for a while the ink seemed to fade as the days went on.  I used like 3 coats of top coat so I think the chemicals in nail polish disintegrates the ink.

Hope you enjoyed my Christmas Poop Tree!


Monday, December 16, 2013

Hobby Polish Bloggers Winter Giveaway!!!

So excited to be part of a huge giveaway.  The prize is just so awesome!!  Hope everyone enters!  ;)
The Hobby Polish Bloggers are having their second multi-blogger giveaway! To enter, please allow the Rafflecopter widget to load below. All Terms and Conditions may also be found in the widget. Please visit the following Hobby Polish Bloggers members who are bringing this to you! You may enter using Rafflecopter from any of the below blogs but your entry will only count one time. You may, however, tweet about the giveaway (the last option) once a day for the duration of the giveaway.


Hobby Polish Bloggers
A far from perfect mom
Be Happy and Buy Polish
FashionFooting
I Feel Polished
Imperfectly Painted
Jen Likes Polish (and some other things)
KellieGonzo.com
Love. Varnish, chocolate and more...
Lucy's Stash
Lustrous Lacquer
MandysSecrets
manicure addict
Pamper with Polish
Polarbelle
polish insomniac
Polish Obsession
Polished and Glittered
PolishGalore
PolishNV
pretty tough nails
Refined & Polished
The Dalai Lama's Nails
The Mercurial Magpie
The Sparkling Hoard
TrailerHood Chic

a Rafflecopter giveaway

Thursday, December 12, 2013

Red French Tips (Using a French Brush)

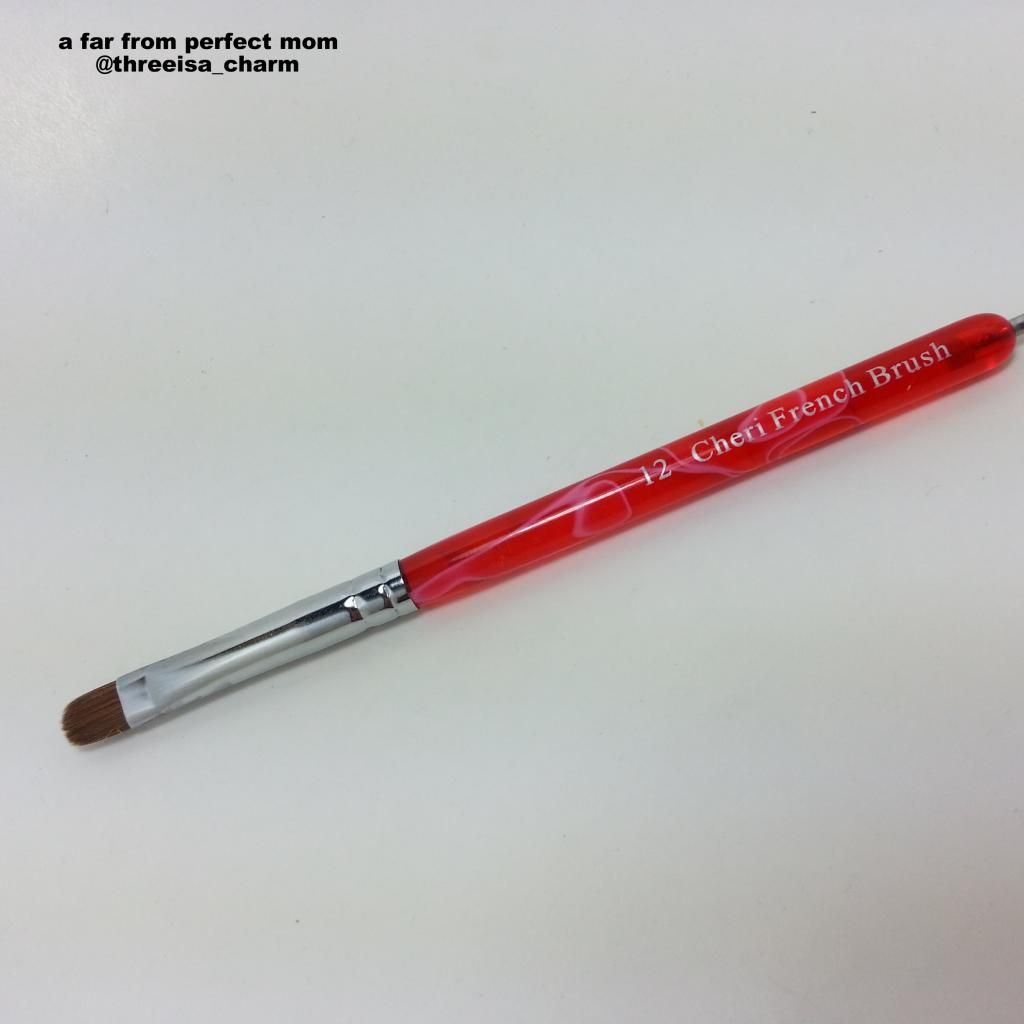
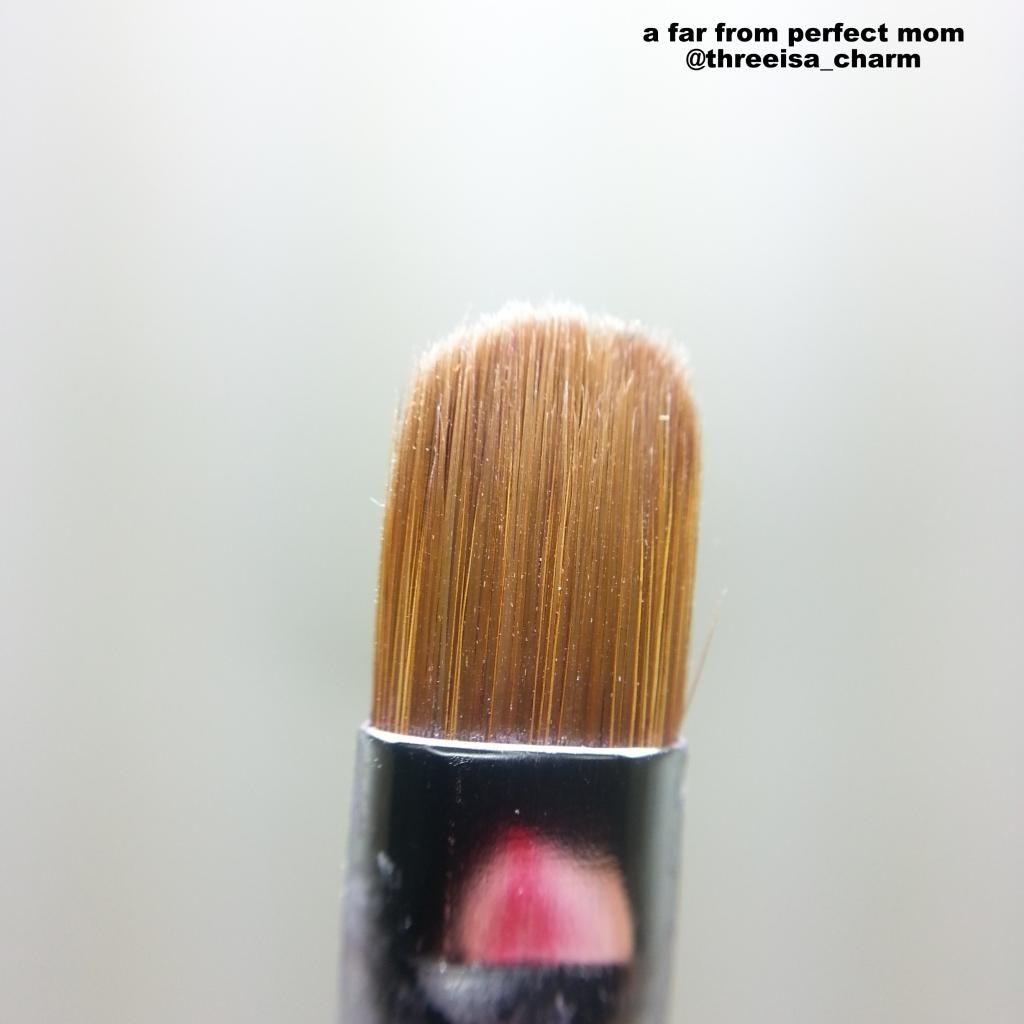
Hello again!  I am excited because a couple weeks ago I went with a few friends to go polish shopping at beauty supply shops and I found the perfect cleanup brush.  I saw a french brush in a bin at one of the stores and thought that it might make a good cleanup brush.  It seems that all polish girls are forever in search for the best cleanup brush and best top coat and I seem to collect both.  This brush was only $3, so I figured what is the harm?  Well, I loooooove it!  It is the best cleanup brush I have ever used.  My elf concealor brush melts in the acetone after only a couple weeks of use.  I have used this brush for several weeks and while bristles have gone astray on the whole it is still very well intact.  The edge of the brush is so thin that you can cleanup in the tightest of areas around your nails.  One of my friends Jess, Lost in Polish, pointed out that this is what the manicurists probably use for french manicures.  I didn't even think about that even though the brush has the words, "french brush" etched on the side.  So guess what I decided to try?  Well, I hope you can guess from the title of this post.

I took some pictures of the brush to show you what a perfect cleanup brush looks like.  The other end of the brush has a small dotting too.  I actually use this as part of clean up also.  Since the brush isn't very stiff, I push back my cuticles with the small dotting tool that way I can clean up the excess polish that gathered near my cuticle with ease.


The shape of the brush ends up being perfect for making that smile line for a french mani.


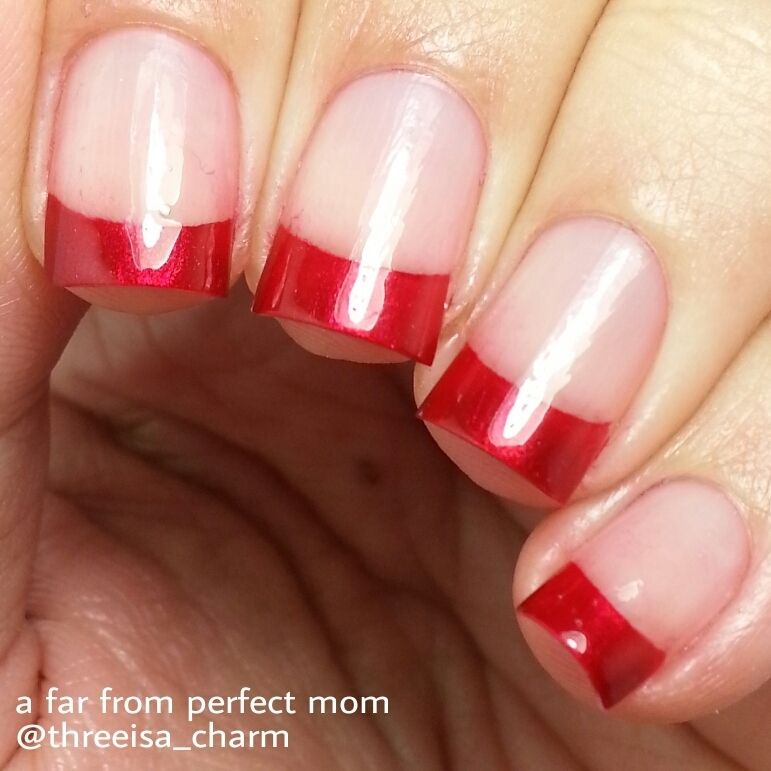
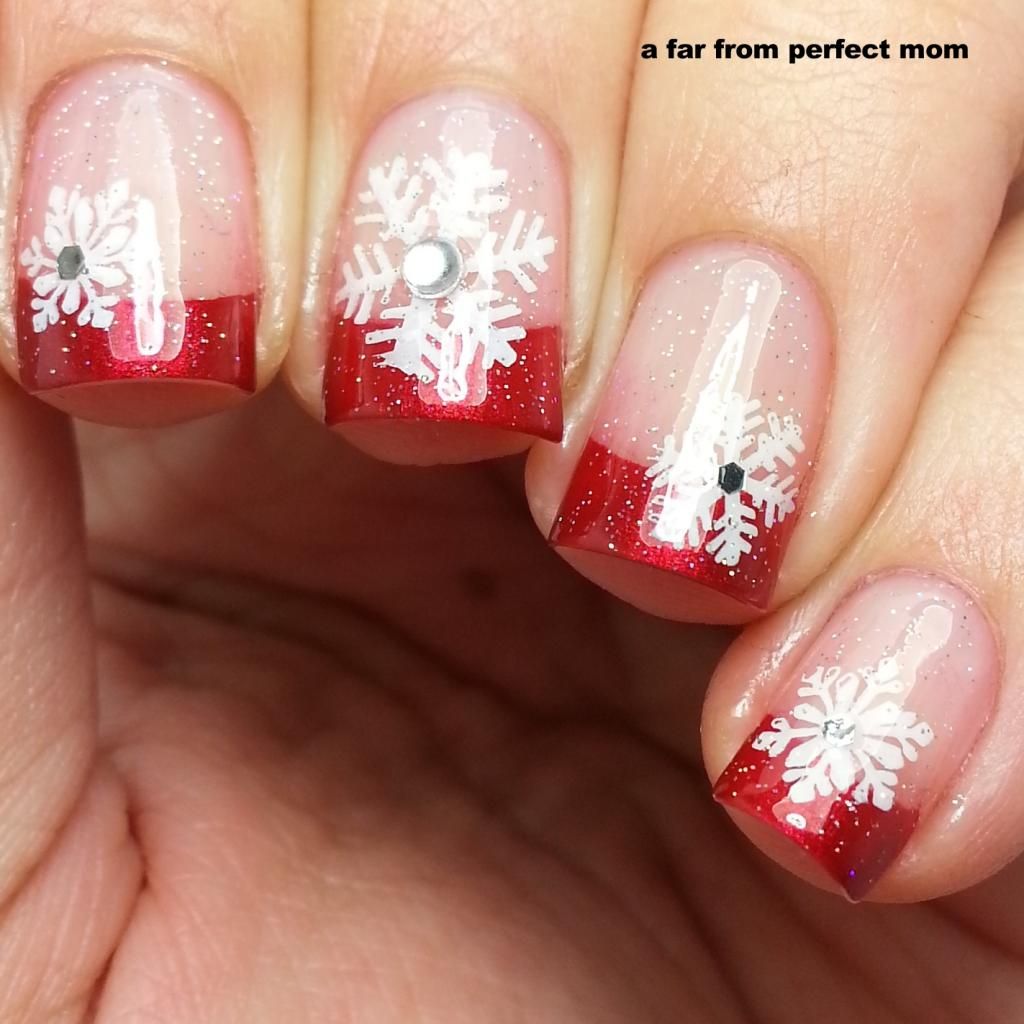
Look at my french tips!  It isn't perfect I know.  But these are the best french tips I have ever created (even my right had looked decent!).  Lol!  And in keeping with the holiday colors.  I thought I would do shimmery red tips! 

In order to create the french tips, I polished the tips with red polish pretty sloppily and then I dipped my french brush in acetone.  I tried to keep a good amount of acetone on the brush, not dripping wet but pretty soaked, then I placed the whole brush where I wanted my smile line and gently pressed down flat against my nail and swiped from side to side brushing away the excess polish to make the french lines.


Wow that was a wordy post!  Ironic since I do not like to read wordy blog posts.  What do you think of my french tips?  I would tell you the name of the red polish, but I got this in a Color Club pack from Ross and threw out the box.  I'm so sorry, if anyone can name it please let me know!  It seems like a metallic Santa red polish.

*Update*  Look at how I updated my mani!!  I love this so much.  I'm not very good at nail art, but I'm proud of myself for this.  Hahaha!  I used my Winstonia Plates for the snowflakes.


Monday, December 9, 2013

OPI 4 In The Morning


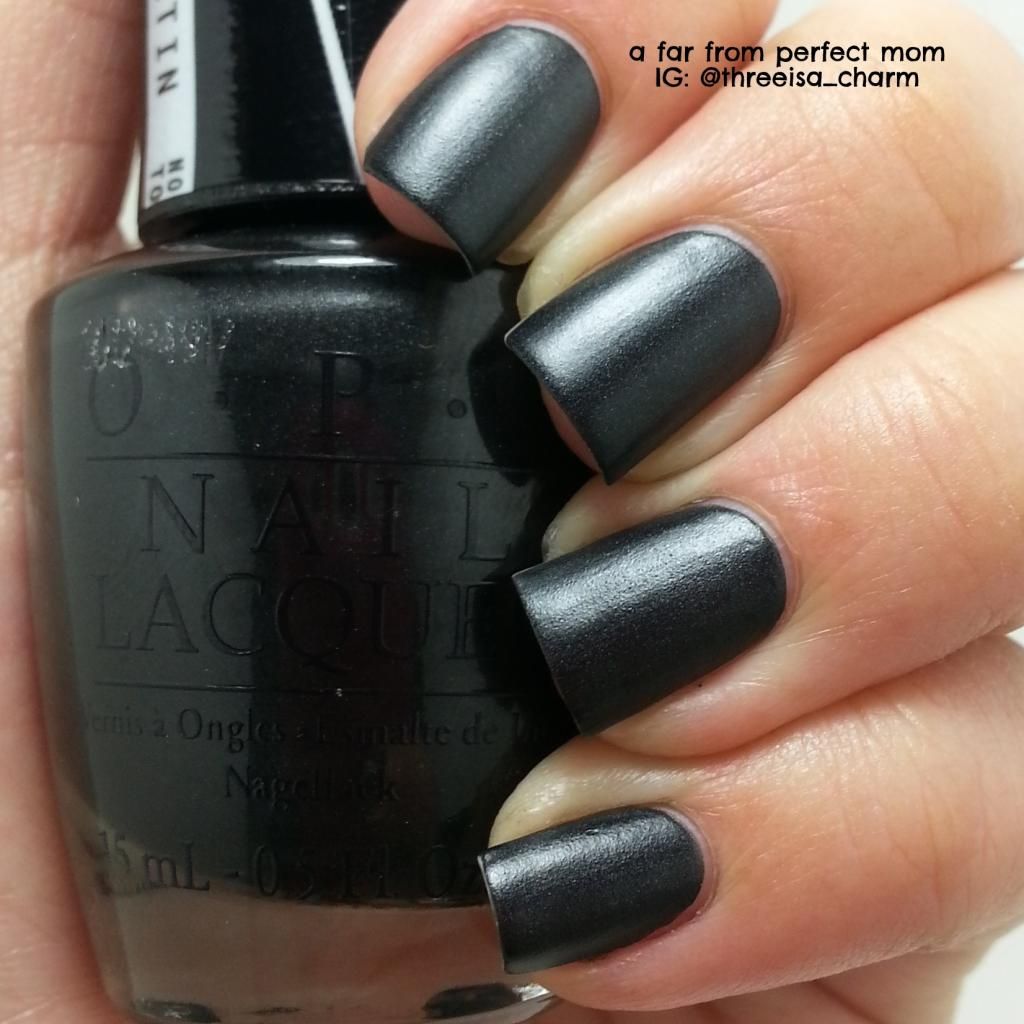
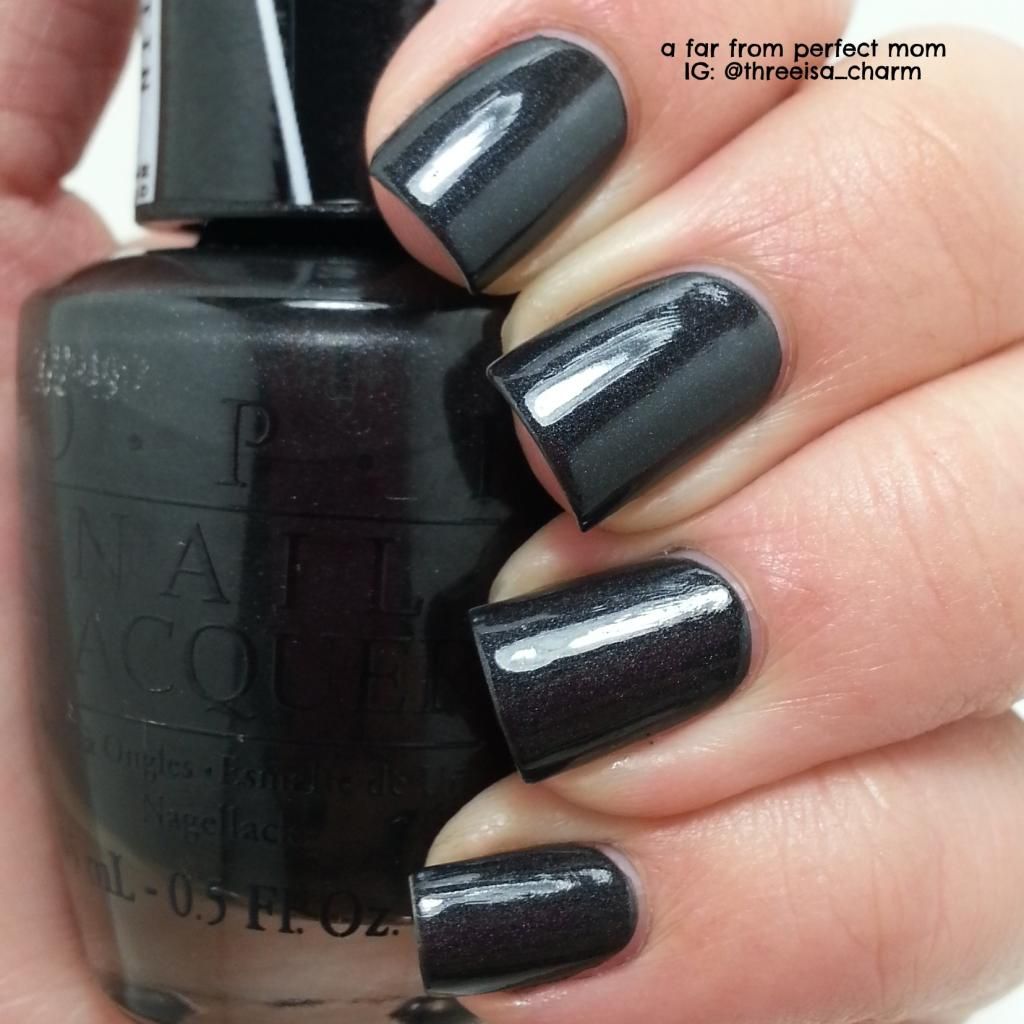
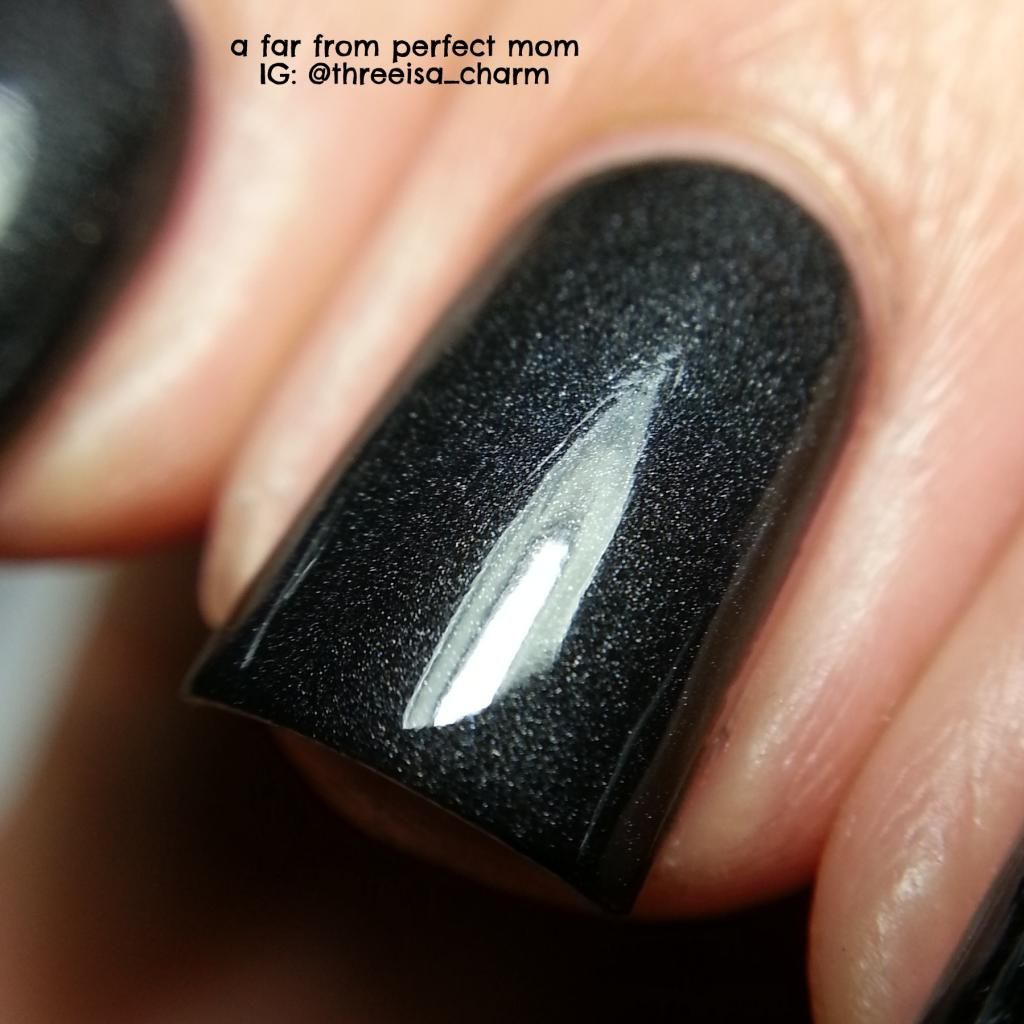
I'm not going to pretend I know anything about the new OPI Gwen Stefani collection.  But I did find a bottle from the new collection and I feel so giddy about it.  I was with some friends at a beauty supply shop and we randomly found bottles of 4 In The Morning.  It is a dark grey satin finish (matte) polish with grey shimmer.  The bottles says No Top Coat, but I like it better with top coat.  The formula was a little thin for me and it flooded a few cuticles, but other than that it applied easily.  Swatches below are 3 coats.

This is 4 In The Morning with no top coat.
This is 4 In The Morning with one coat of Glossy Glam.

And here is a delicious macro with top coat.  
I can't wait to see the rest of the collection!  I loooooove Gwen Stefani so I think I will want the whole collection.

Sunday, December 8, 2013

My Color Club Giveaway!

Hello all! I'm having a very random giveaway. I came across extra bottles of Color Club The Uptown and wanted to share my findings! This is my first giveaway so bear with me please! If you have no idea what Color Club The Uptown looks like please check out my post here! I think you will all love it!!!!  I will probably add other goodies too it.  Just haven't thought of what yet.  ;)

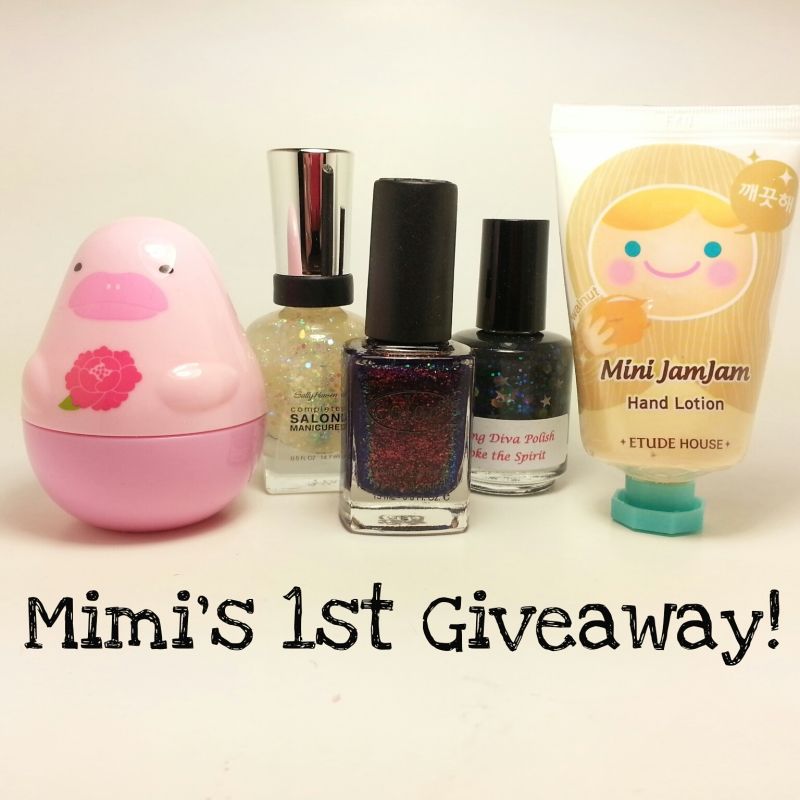
**Update: I figured out my prize!!!  Of course Color Club The Uptown, Sally Hansen Snow Globe, Darling Diva Polish Invoke the Spirit and an Etude House hand cream (in the cute containter!!) and hand lotion!  I hope you all like it!  :)


A few quick rules.
- US address only please
- Entrants of 18 years and older only
- Please read Terms and Conditions below in Rafflecopter.


 a Rafflecopter giveaway

Thursday, October 10, 2013

Bliss Polish Lyla

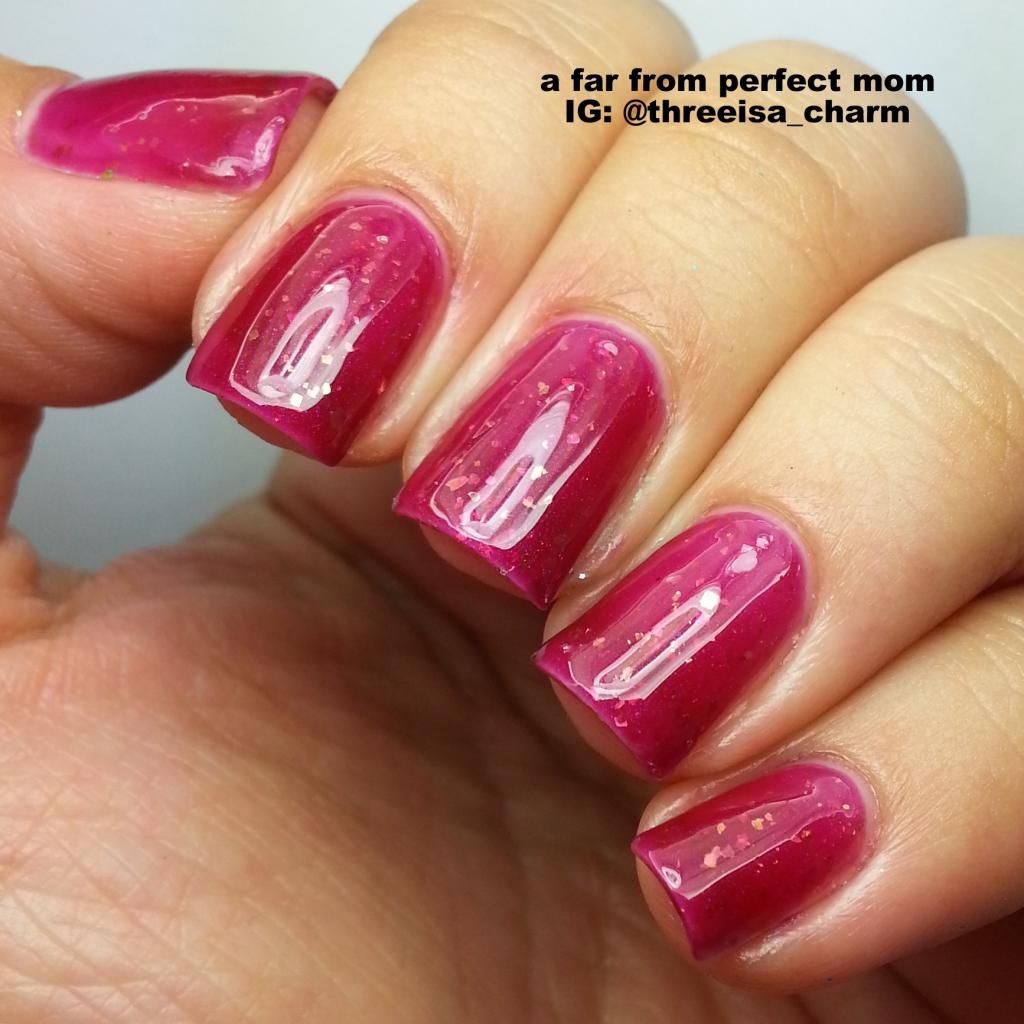
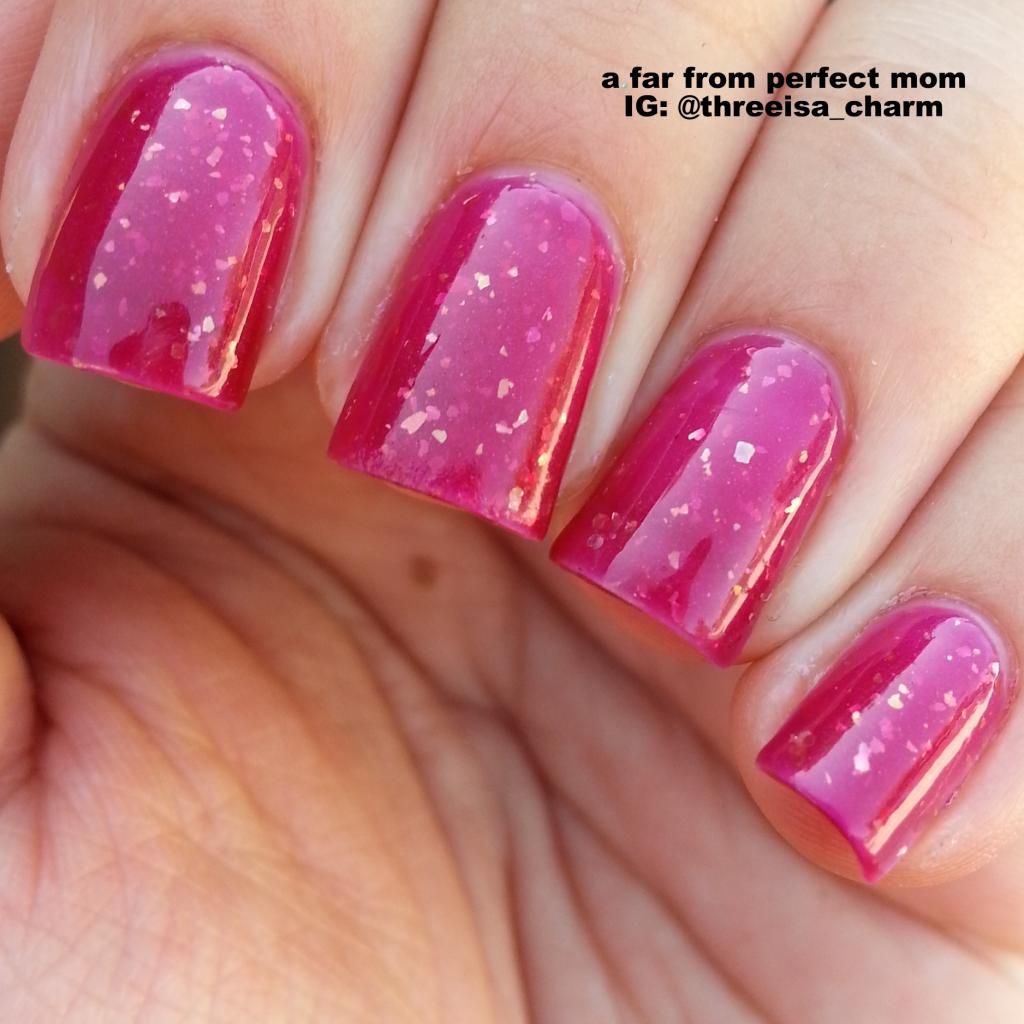
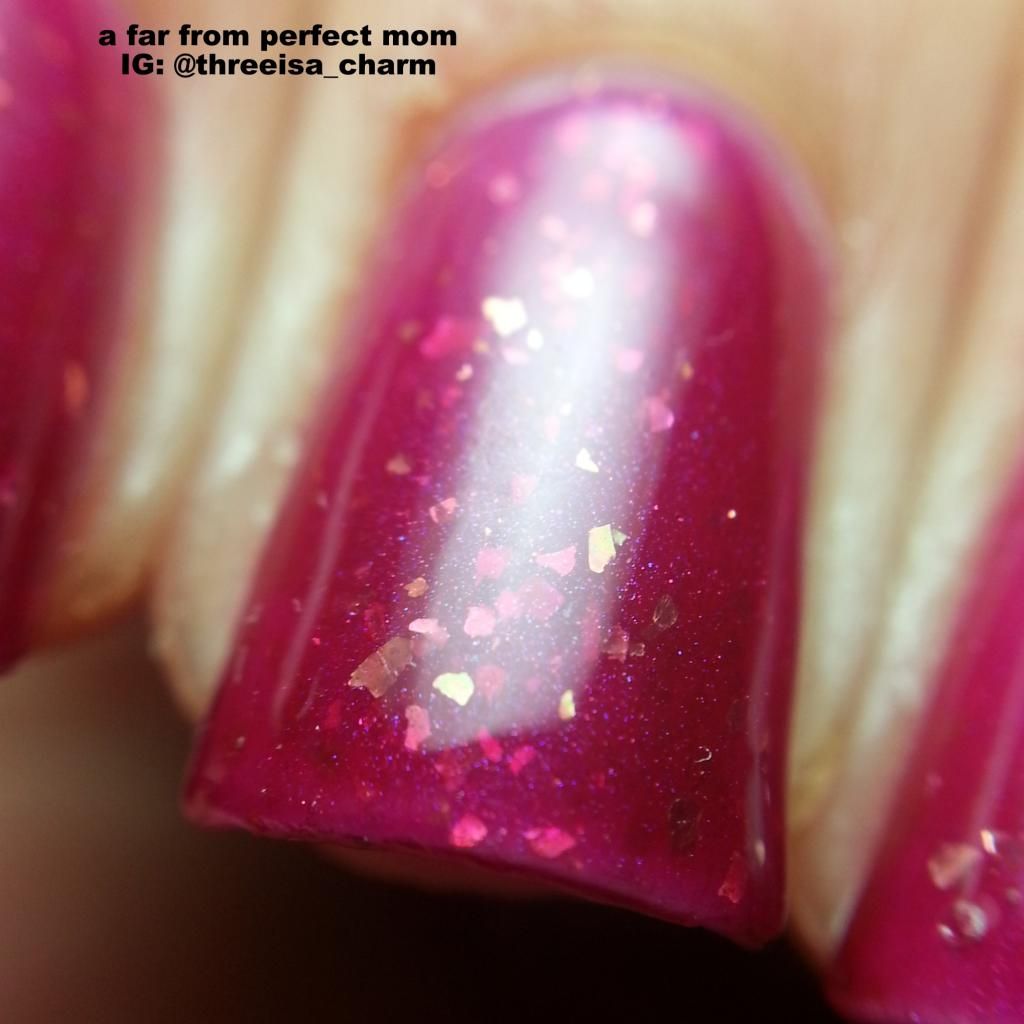
I have a new polish to show you from Bliss Polish's Son's of Anarchy collection.  Okay so I do not know anything about Son's of Anarchy, but I do know that this collection is exciting as hell!  Now Lyla must be a sexy lady, because this polish is just so sexy.  It is a berry jelly polish with some shimmer and GOLD FLAKIES!!  Yummy, I love me some flakies.  I used three coats for the pics below!


Lyla with glossy top coat in artificial light. 
Lyla with glossy top coat in natural light.
Macro of Lyla with glossy top coat.
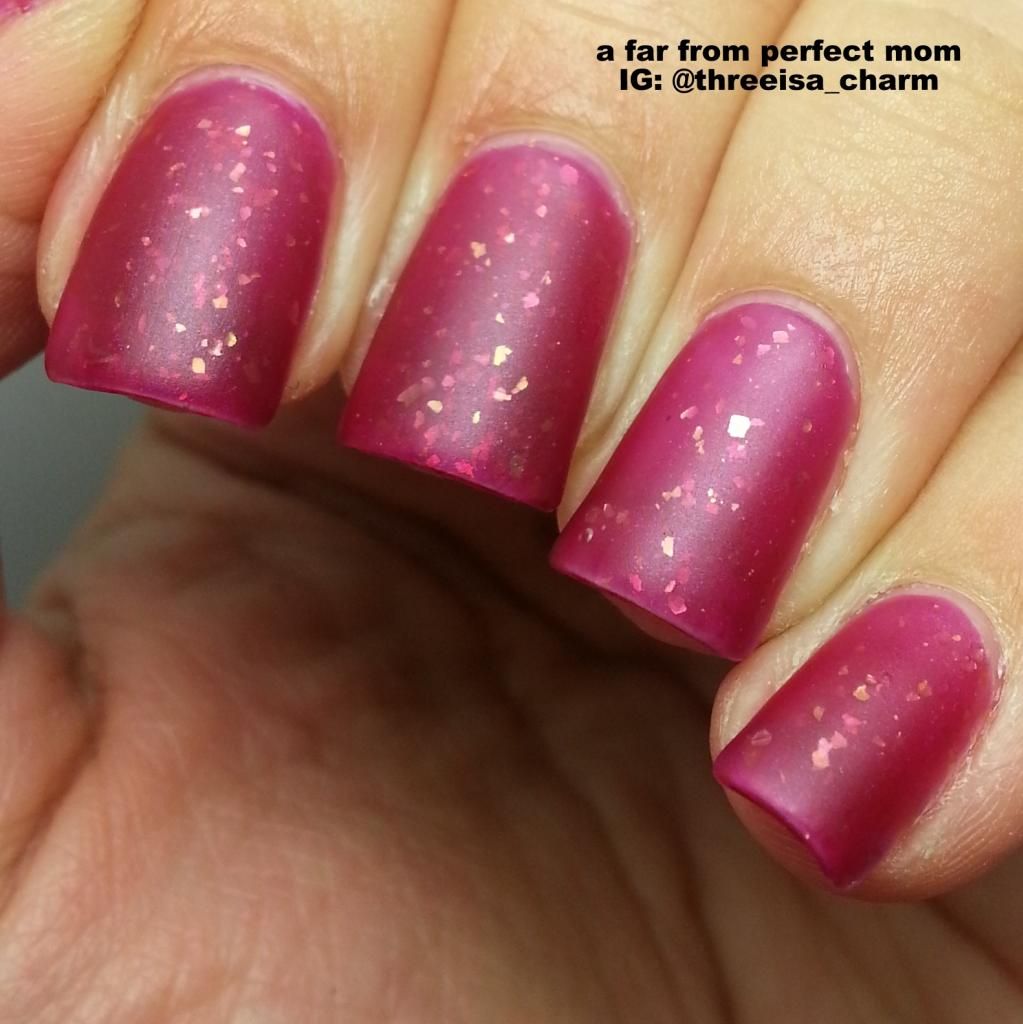
Lyla with matte top coat.
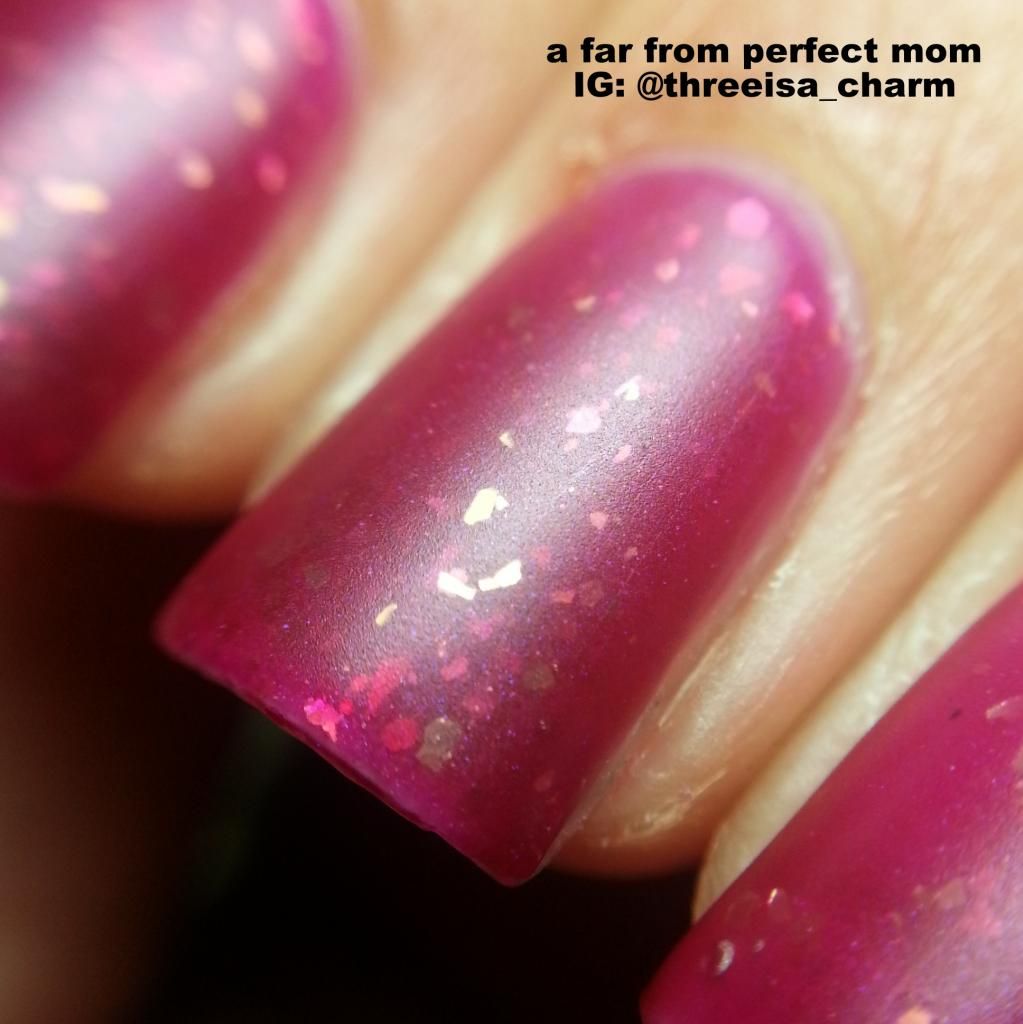
Lyla with matte top coat macro shot!
 
So I took many photos of Lyla because she is camera shy.  She didn't want everyone to see her sexy beauty without being a tease.  Keep in mind I'm talking about the polish.  :)  So to try to get the flakies to show in their glory I tried different lighting, angles and mattified it!  Hope you enjoyed! 
 
 
The Son's of Anarchy Collection will be available for purchase tomorrow!  Please follow Bliss Polish on Instagram for swatches of the complete collection!  They are ahhhmazing!  Shop link!

Polishes were sent to me for review.

Pipe Dream Polish Tomorrow's a Mystery

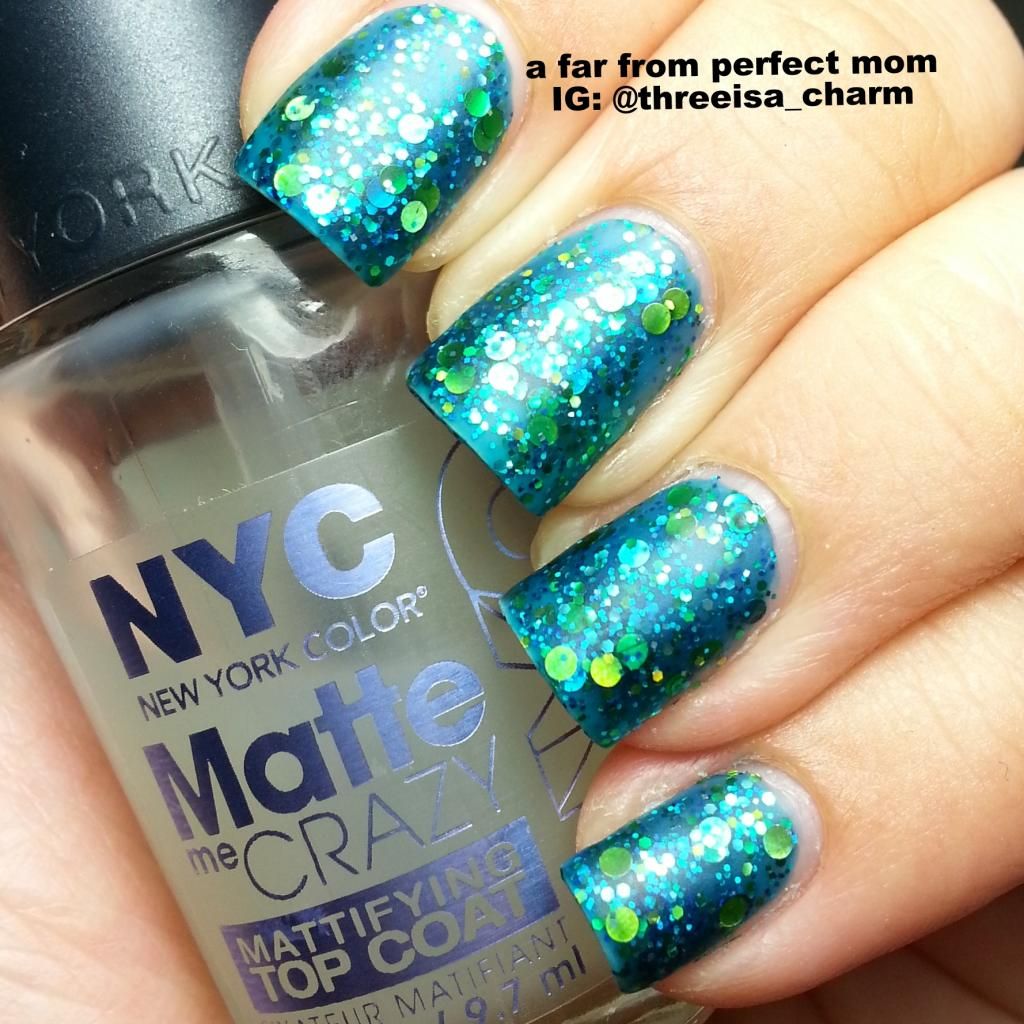
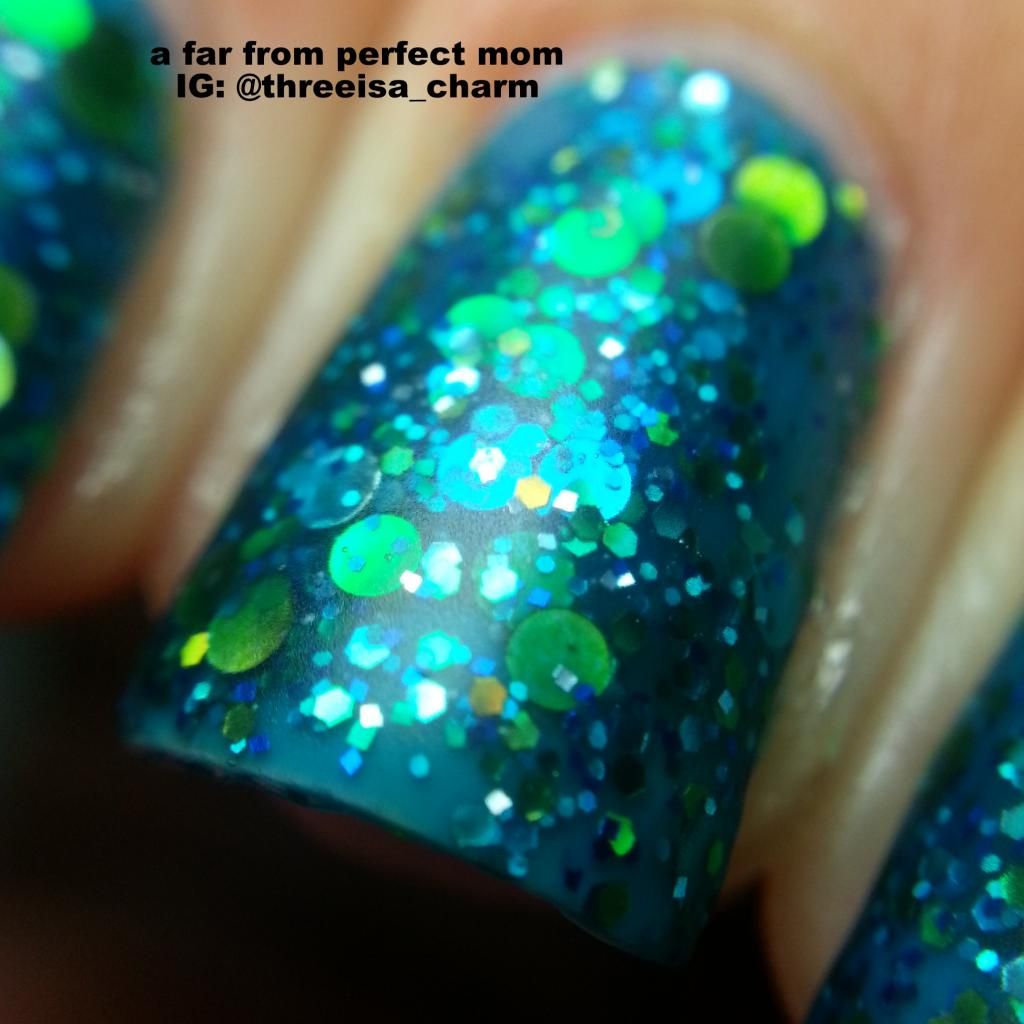
Another gorgeous Pipe Dream Polish for you today!!  Seriously I just love all of her polishes!  Today I have on Tomorrow's a Mystery.  This polish is "made up of lime green holo, turquoise, and green circle glitters along with several shades of blue and green smaller glitters packed in a deep azure/turquoise jelly base."   Wowza!  When I put this on it was like luxury on my nails.  It seriously looked like I had jewels on my nails.  It was so super sparkly and gorgeous that I couldn't keep my eyes off my nails! 

Tomorrow's a Mystery with Glossy Top Coat
Tomorrow's a Mystery with Matte Top Coat
Tomorrow's a Mystery macro shot
I cannot stress enought about how super sparkly this polish is!  Seriously you could be naked and no one would notice because your nails will steal the show!  You can purchase Pipe Dream polishes on Etsy.  And follow Pipe Dream on Facebook and Instagram for fun updates and beautiful polishes!

Monday, September 30, 2013

Pipe Dream Polish: The Night's Magic

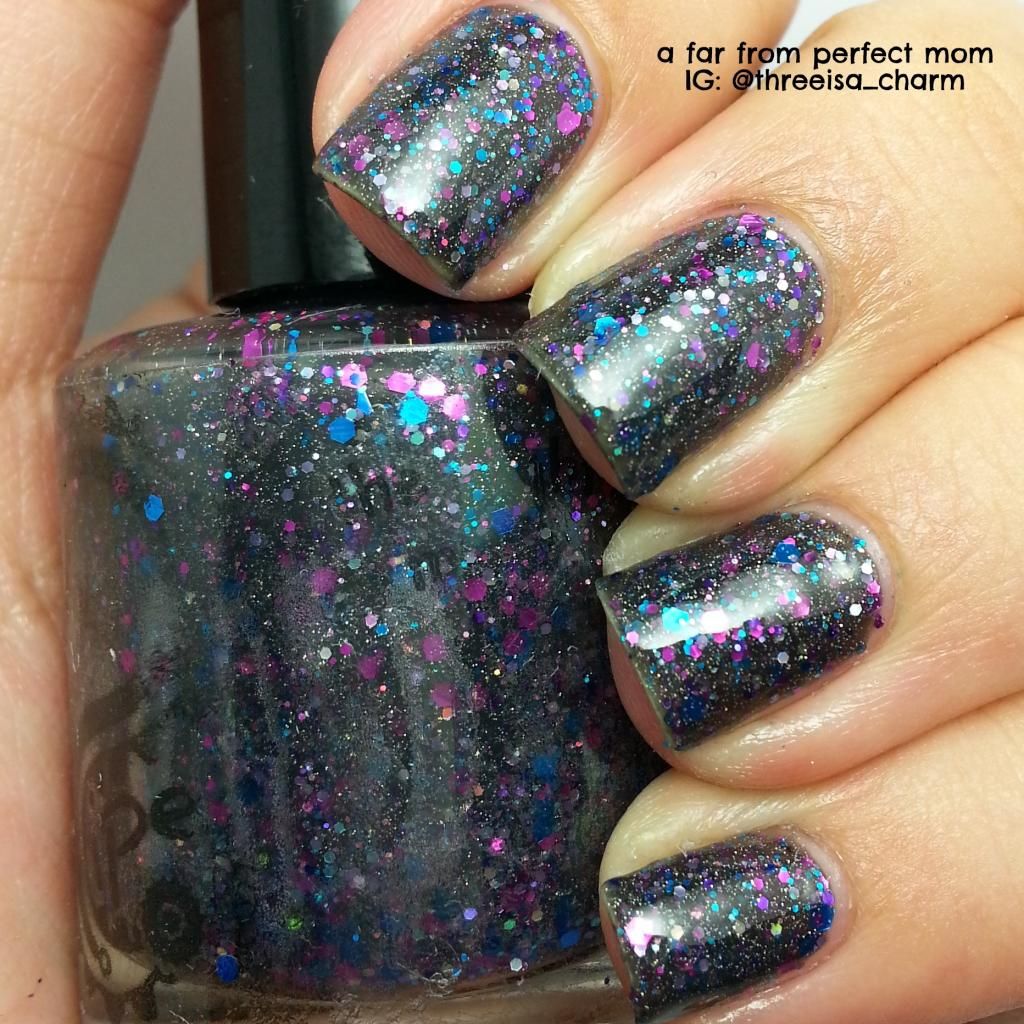
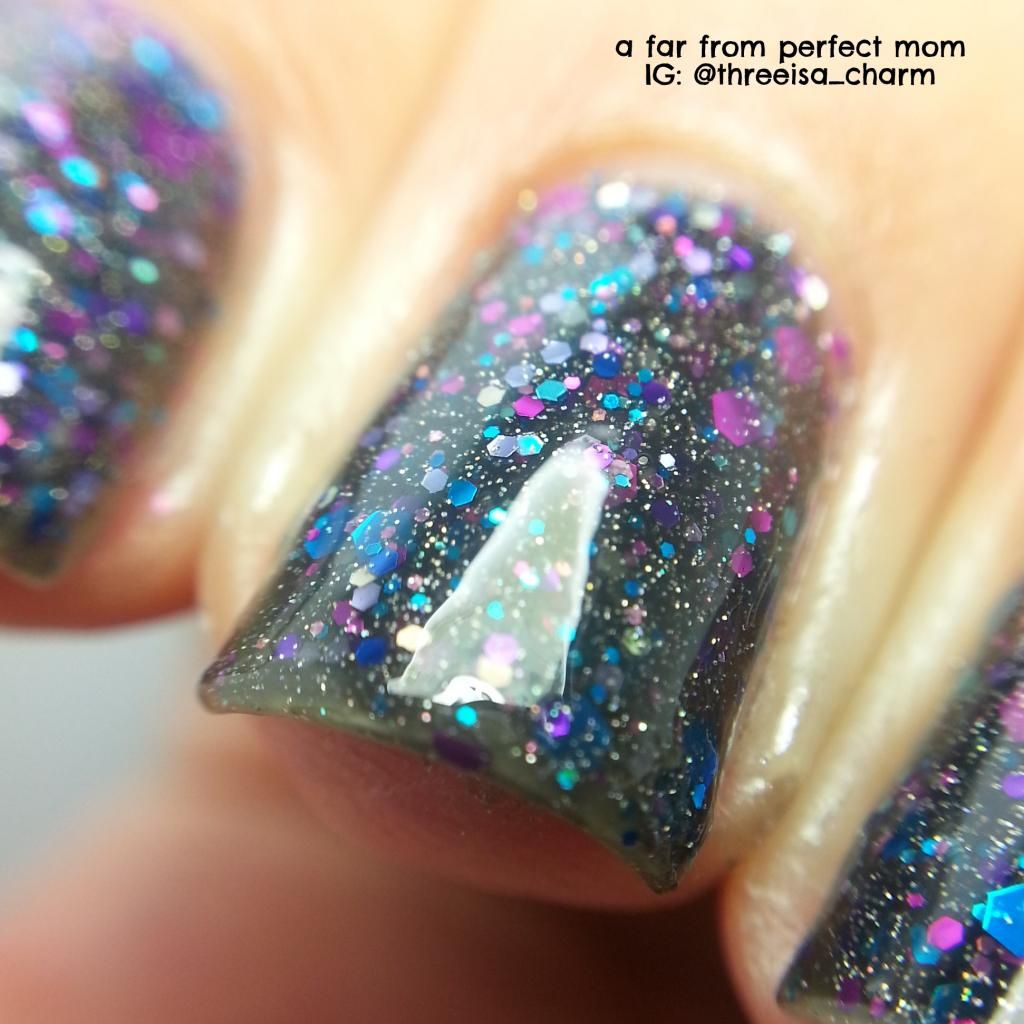
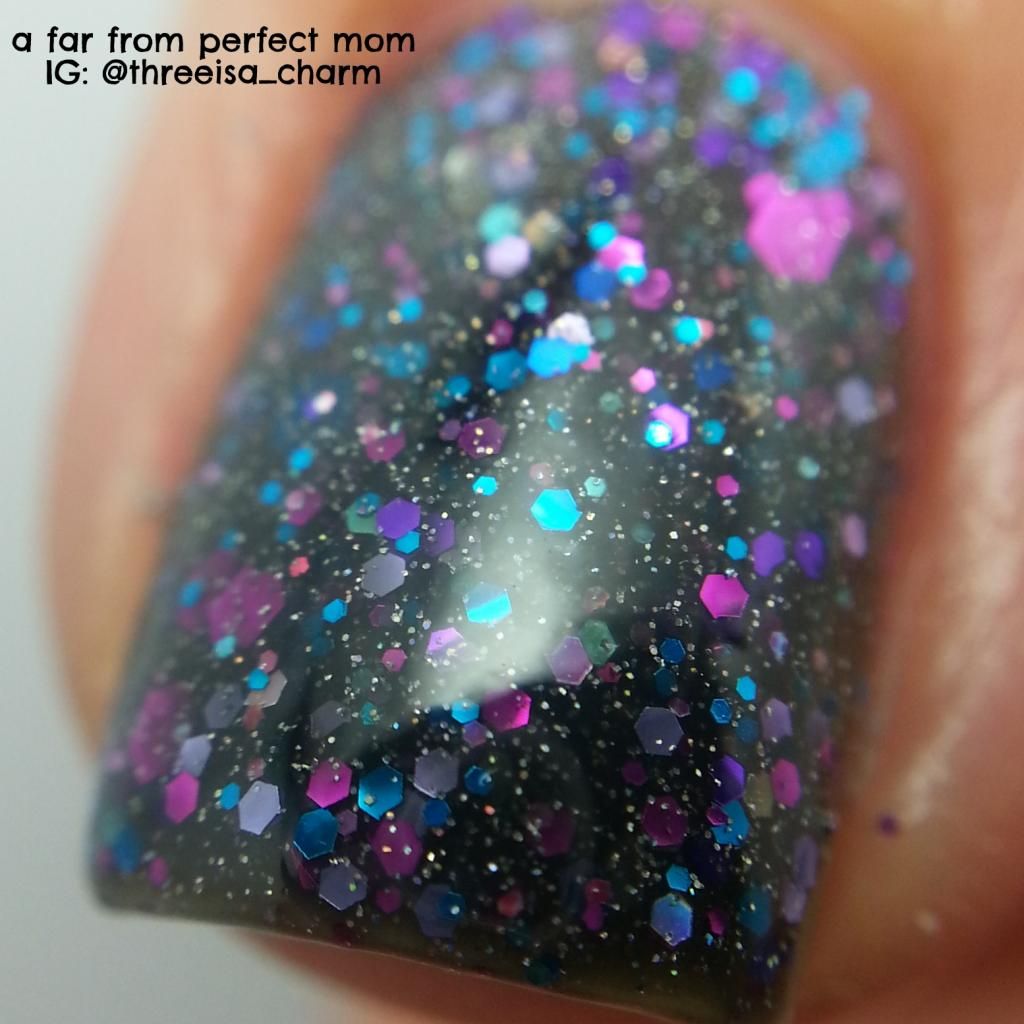
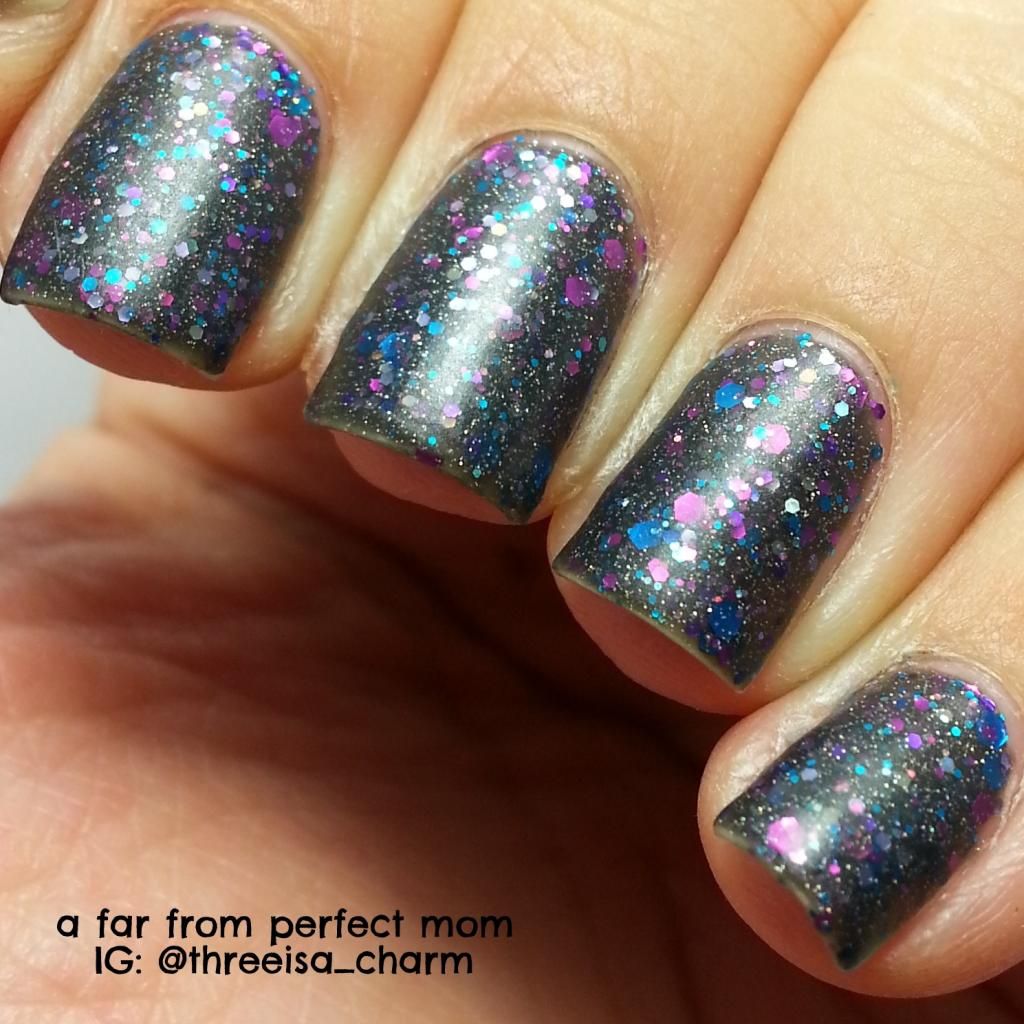
More Pipe Dream Polish!  Woo hoo!  This one is another beauty and it's called The Night's Magic Glitter. It  is one glitter packed polish.  This is a sheer black jellie based polish with tons and tons of micro holographic flecks and blue and purple sparkly glitters!

I used 3 thickish coats.  The formula was thick, so the only way I could get even coats was to glob it on there but it was easy to manage!

The Night's Magic Glitter with glossy top coat.

The Night's Magic Glitter macro shot.

The Night's Magic Glitter macro shot.  Obsessed with my macro lens.  :)

The Night's Magic Glitter with matte top coat.
I mattified this because I just love to matte all the glitters.  Sometimes it is a huge hit for me.  This time I preferred this manicure with a glossy top coat.  The holo bits seemed to have dulled with the matte top coat. Still beautiful, but glossy is the way to go with this polish!

You can purchase her polishes on Etsy.  And follow Pipe Dream Polish on Facebook and Instagram!  If you like jellie based glitter bombs you will want to buy all her polishes immediately!  

Products were purchased at a discount to provide an honest review.

Thursday, September 26, 2013

Pipe Dream Polish: Time in a Tapestry

Good Evening!  It's actually evening and not 2am!  Woo hoo!  Today I have an awesome indie brand I wanted to share.  Pipe Dream Polish!  I have been drooling over her polishes for some time.  I have no idea what took me so long to make a purchase because I literally want everything she makes.

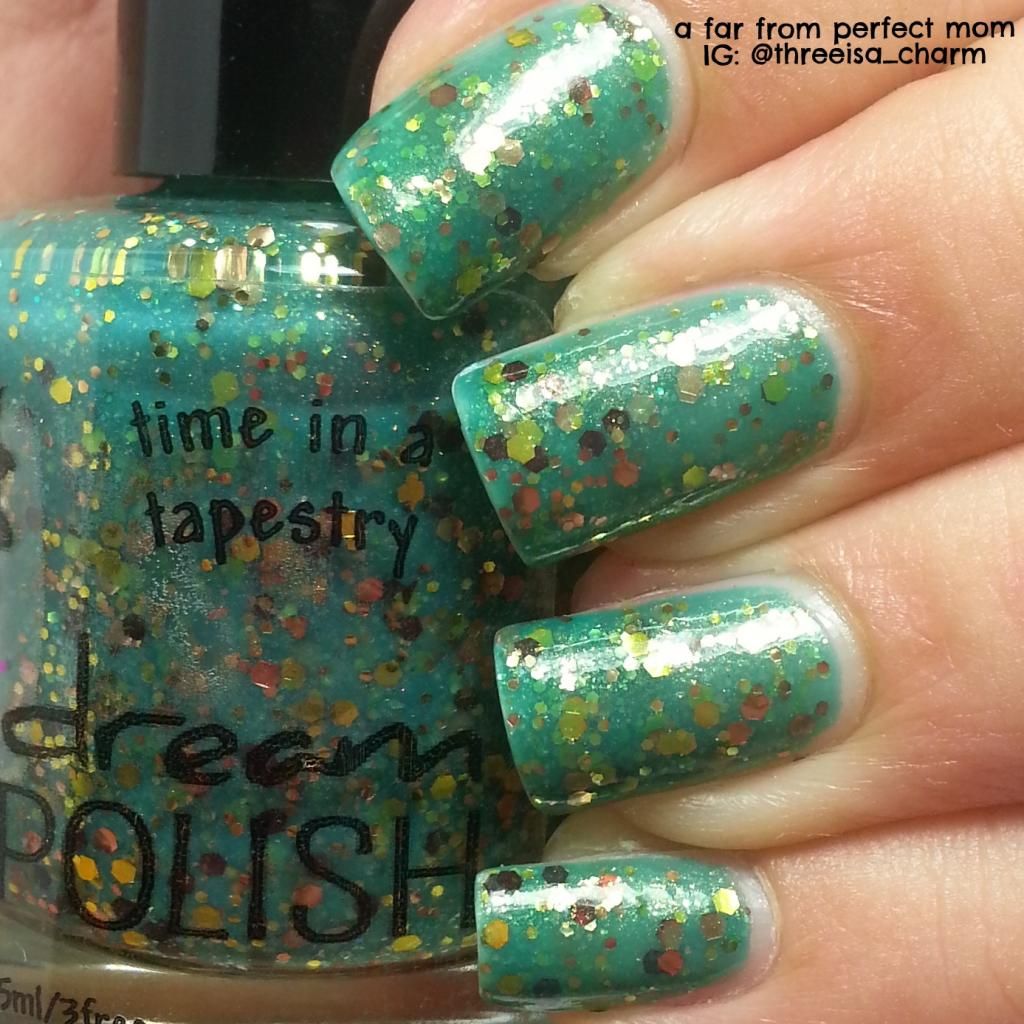
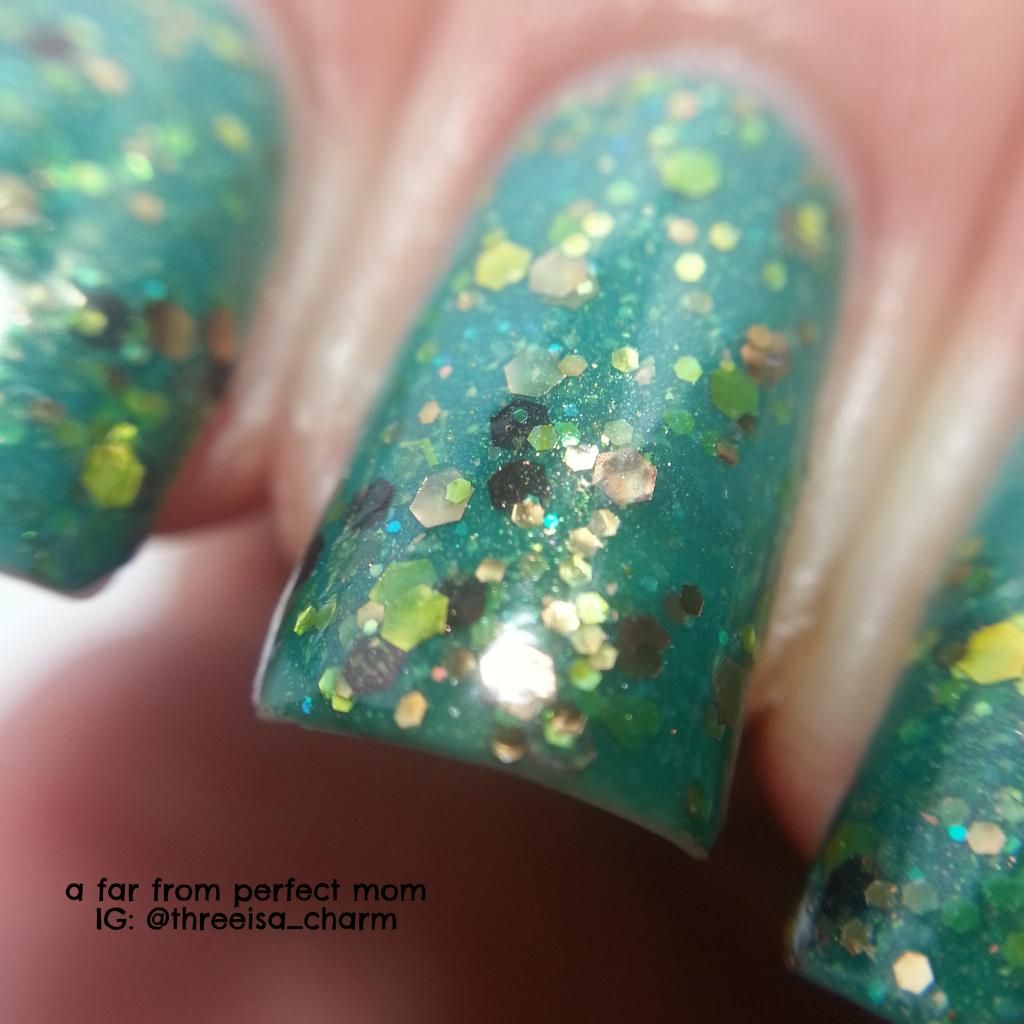
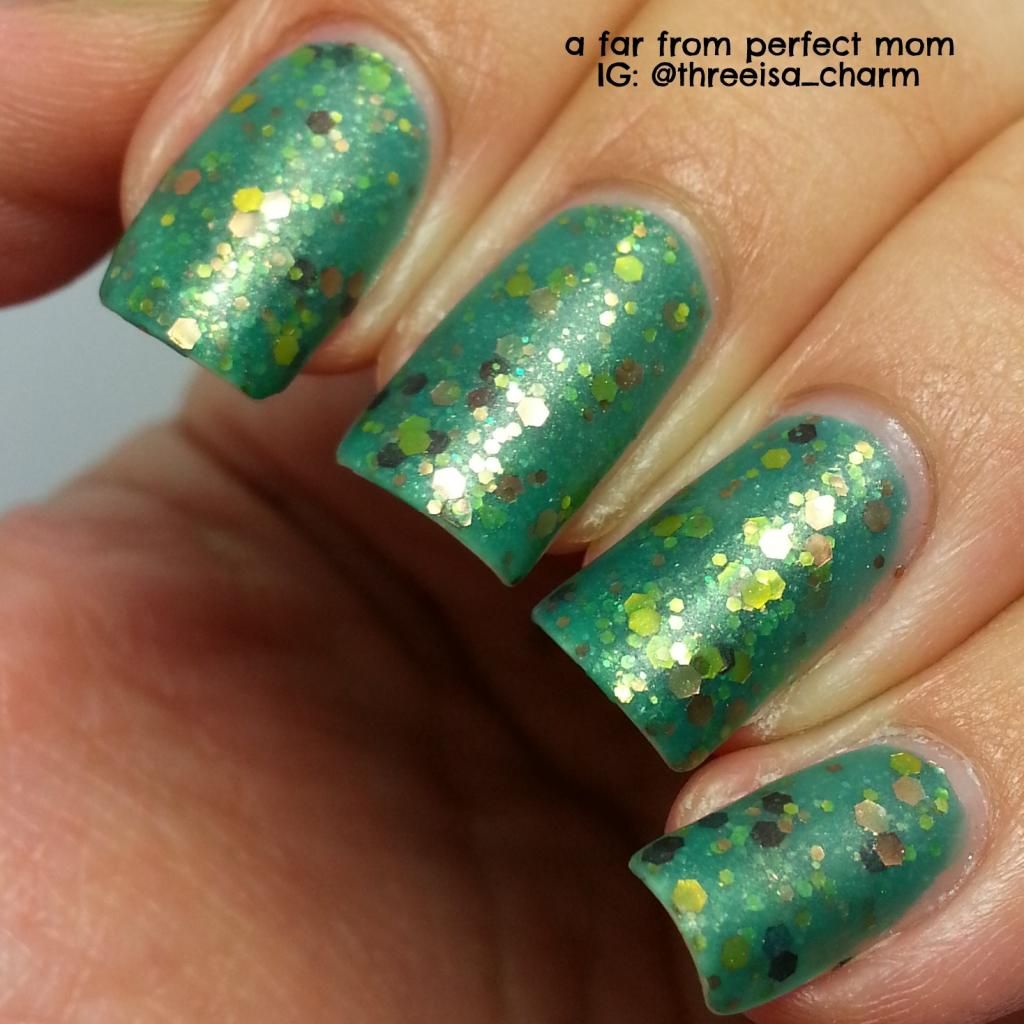
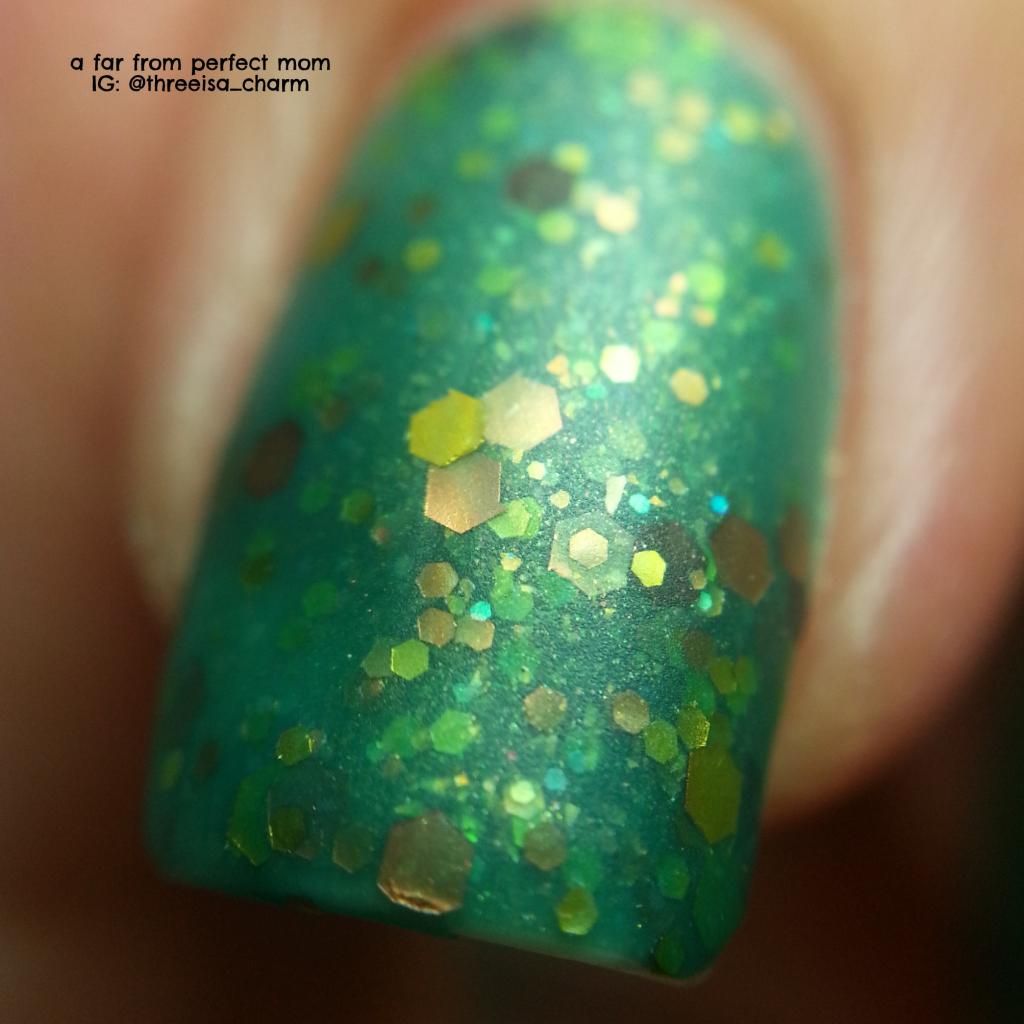
Time in a Tapestry is described as a "gold, copper, and brown glitter with gold flakies in a deep teal green base."  Perfect polish for Fall!  


Time in a Tapestry with glossy top coat
Time in a Tapestry with glossy top coat macro.

Time in a Tapestry with matte top coat.
Time in a Tapestry with matte top coat macro.

Isn't this gorgeous?  I had to matte this because I'm in love with mattifying all my jellies and jellie sandwich in a bottle polishes.  You can purchase her polishes on Etsy.  And follow Pipe Dream Polish on Facebook and Instagram for drool worthy updates!

Products were purchased at a discount to provide an honest review.